Home
Home  Navigation


If you're eager to explore the vast expanses of Dead Sails and achieve impressive distances without frequent deaths, you're in good company. Choosing the right class can make a significant difference, alongside your gear and teammates. To save you the hassle of trial and error, I've put together this ultimate Dead Rails class tier list to guide you through the game's best options.
Recommended Videos
Table of contents
All Dead Rails Class Tier List S Tier Dead Rails Classes A Tier Dead Rails Classes B Tier Dead Rails Classes C Tier Dead Rails Classes D Tier Dead Rails Classes
All Dead Rails Class Tier List
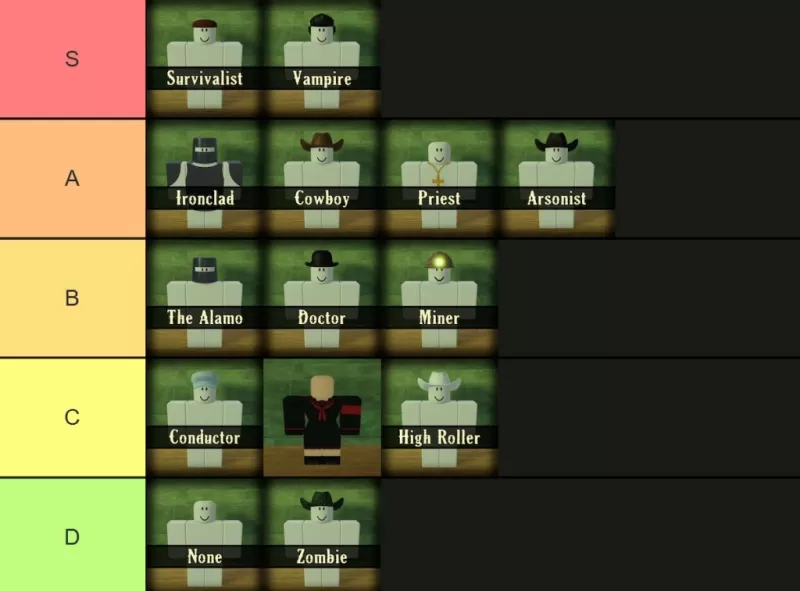 Image by Destructoid
I'm aware that this Dead Rails class tier list might stir up some controversy, but it's crafted to help you make informed decisions. The Vampire remains a top choice, even after numerous updates, while the Survivalist has seen a significant rise in popularity recently. It's disappointing, though, that the Zombie class is still underwhelming and can't even drink Snake Oil. Keep in mind, teamwork plays a role, but I've weighted it lightly in this list. After all, the game is about enjoying time with friends, not just about min-maxing.
S Tier Dead Rails Classes
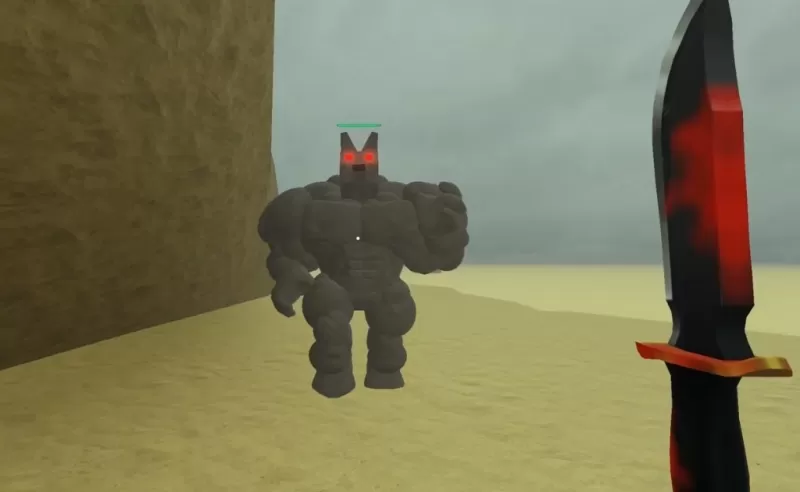 Screenshot by Destructoid
When it comes to sheer damage output, the Survivalist and Vampire stand out as the top contenders. While the Ironclad is a strong class, it doesn't quite reach the same heights.
| **Name** | **Cost** | **Info** |
| Survivalist | 75 | The Survivalist starts with a Tomahawk and becomes increasingly deadly as your health decreases. Even at full health, you deal more damage than most, though this might change with future updates. It's particularly effective against tough enemies that don't go down easily. |
| Vampire | 75 | The Vampire excels in speed and aggression, outpacing horses and zombies alike. Your melee attacks are powerful, and you spawn with a Vampire Knife that heals you with each hit. The downside? You must avoid sunlight to prevent damage. |
A Tier Dead Rails Classes
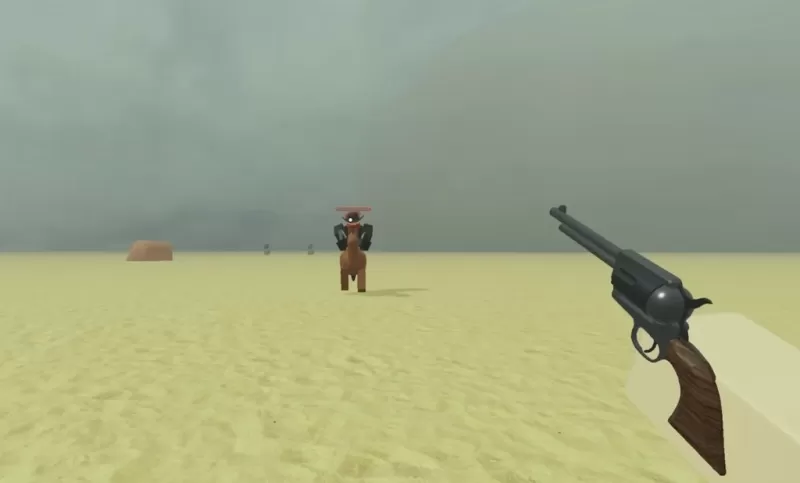 Screenshot by Destructoid
Classes in this tier are excellent but fall slightly short in terms of solo survival. They offer strong damage output and good starting gear, yet they shine more in team settings. The Ironclad holds the most potential here.
| **Name** | **Cost** | **Info** |
| Ironclad | 100 | The Ironclad is heavily armored, making you significantly harder to kill but slightly slower. Best suited for team play, particularly with shotguns for close-quarters combat. |
| Cowboy | 50 | The Cowboy starts with a revolver, ammo, and a horse, providing a strong early game advantage. The Game Pass allows you to sell the revolver for extra cash to enhance your starting loadout. |
| Priest | 75 | The Priest uses Crucifixes and Holy Water, immune to lightning. They're invaluable in larger teams, where their throwables can turn the tide of battle. |
| Arsonist | 20 | The Arsonist is perfect for clearing groups of enemies quickly with Molotovs and enhanced fire damage. Best suited for smaller, controlled areas. |
B Tier Dead Rails Classes
 Screenshot by Destructoid
These classes are specialists, excelling in specific situations. The Doctor offers great value and support but isn't ideal for solo damage output.
| **Name** | **Cost** | **Info** |
| The Alamo | 50 | The Alamo focuses on defense, starting with materials to fortify the Train. Ideal for holding positions during enemy waves. |
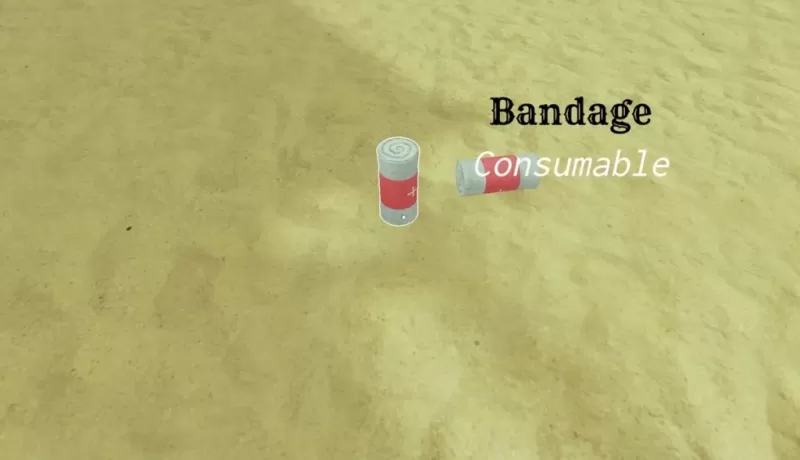
| Doctor | 15 | The Doctor provides essential healing and revival capabilities, making them invaluable in group settings. Selling bandages and snake oil can give you a $40 boost. |
| Miner | 15 | The Miner is perfect for resource gathering and nighttime exploration, equipped with a helmet and a fast Pickaxe. Great for early game material collection. |
C Tier Dead Rails Classes
 Screenshot by Destructoid
These classes offer good utility but are less effective in solo play. The Conductor is crucial in a full team, while the Horse class is more of a novelty.
| **Name** | **Cost** | **Info** |
| Conductor | 50 | The Conductor manages the Train's speed with Coal, reaching up to 84. They lack a melee weapon at spawn, making early game protection essential. |
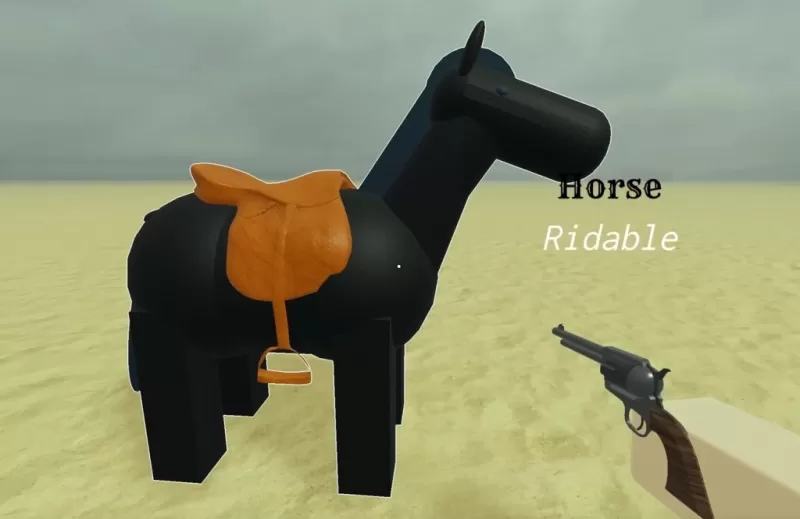
| Horse | Unlockable through the Horsing Around gamemode | The Horse Class turns you into a horse, complete with standard horse stats. It's more of a fun addition than a serious gameplay option. |
| High Roller | 50 | The High Roller earns 1.5x money from bags, perfect for quick cash accumulation. However, they're more susceptible to lightning strikes during storms. |
D Tier Dead Rails Classes
 Screenshot by Destructoid
The lowest tier includes the None class, suitable for beginners, and the Zombie class, which remains largely ineffective.
| **Name** | **Cost** | **Info** |
| None | Free | The None class is the default option with a shovel and no perks or drawbacks. It's ideal for learning the game and saving bonds. |
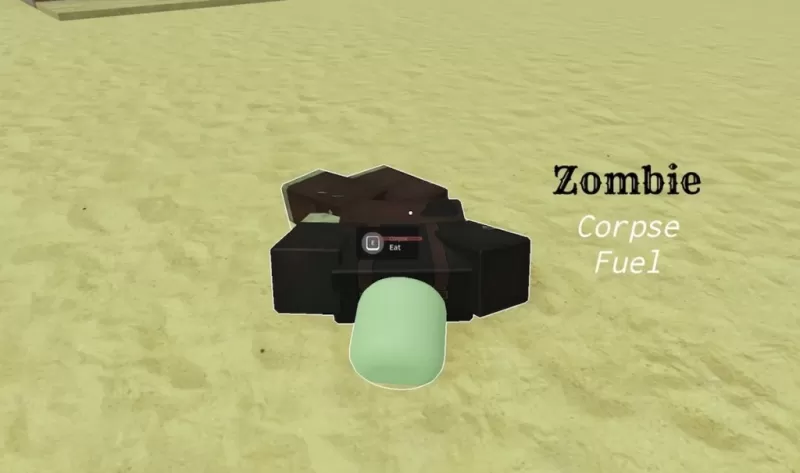
| Zombie | 75 | The Zombie can heal by feeding on corpses and has stealth advantages but lacks access to Bandages or Snake Oil, making it currently underwhelming. |
That wraps up my Dead Rails class tier list! I hope it helps you achieve new records and conquer those mobs effortlessly. Don't forget to use Dead Rails codes and tackle Dead Rails challenges. Stay tuned for what the next update might bring!
 Latest Articles


 Latest Games


![Chubby Story [v1.4.2] (Localizations)](https://imgs.xddxz.com/uploads/85/1719638042667f981a5e9f8.jpg)


![Zia – New Version 0.4 [Studio Zia]](https://imgs.xddxz.com/uploads/47/1719569268667e8b74e6004.jpg)