Home
Home  Navigation


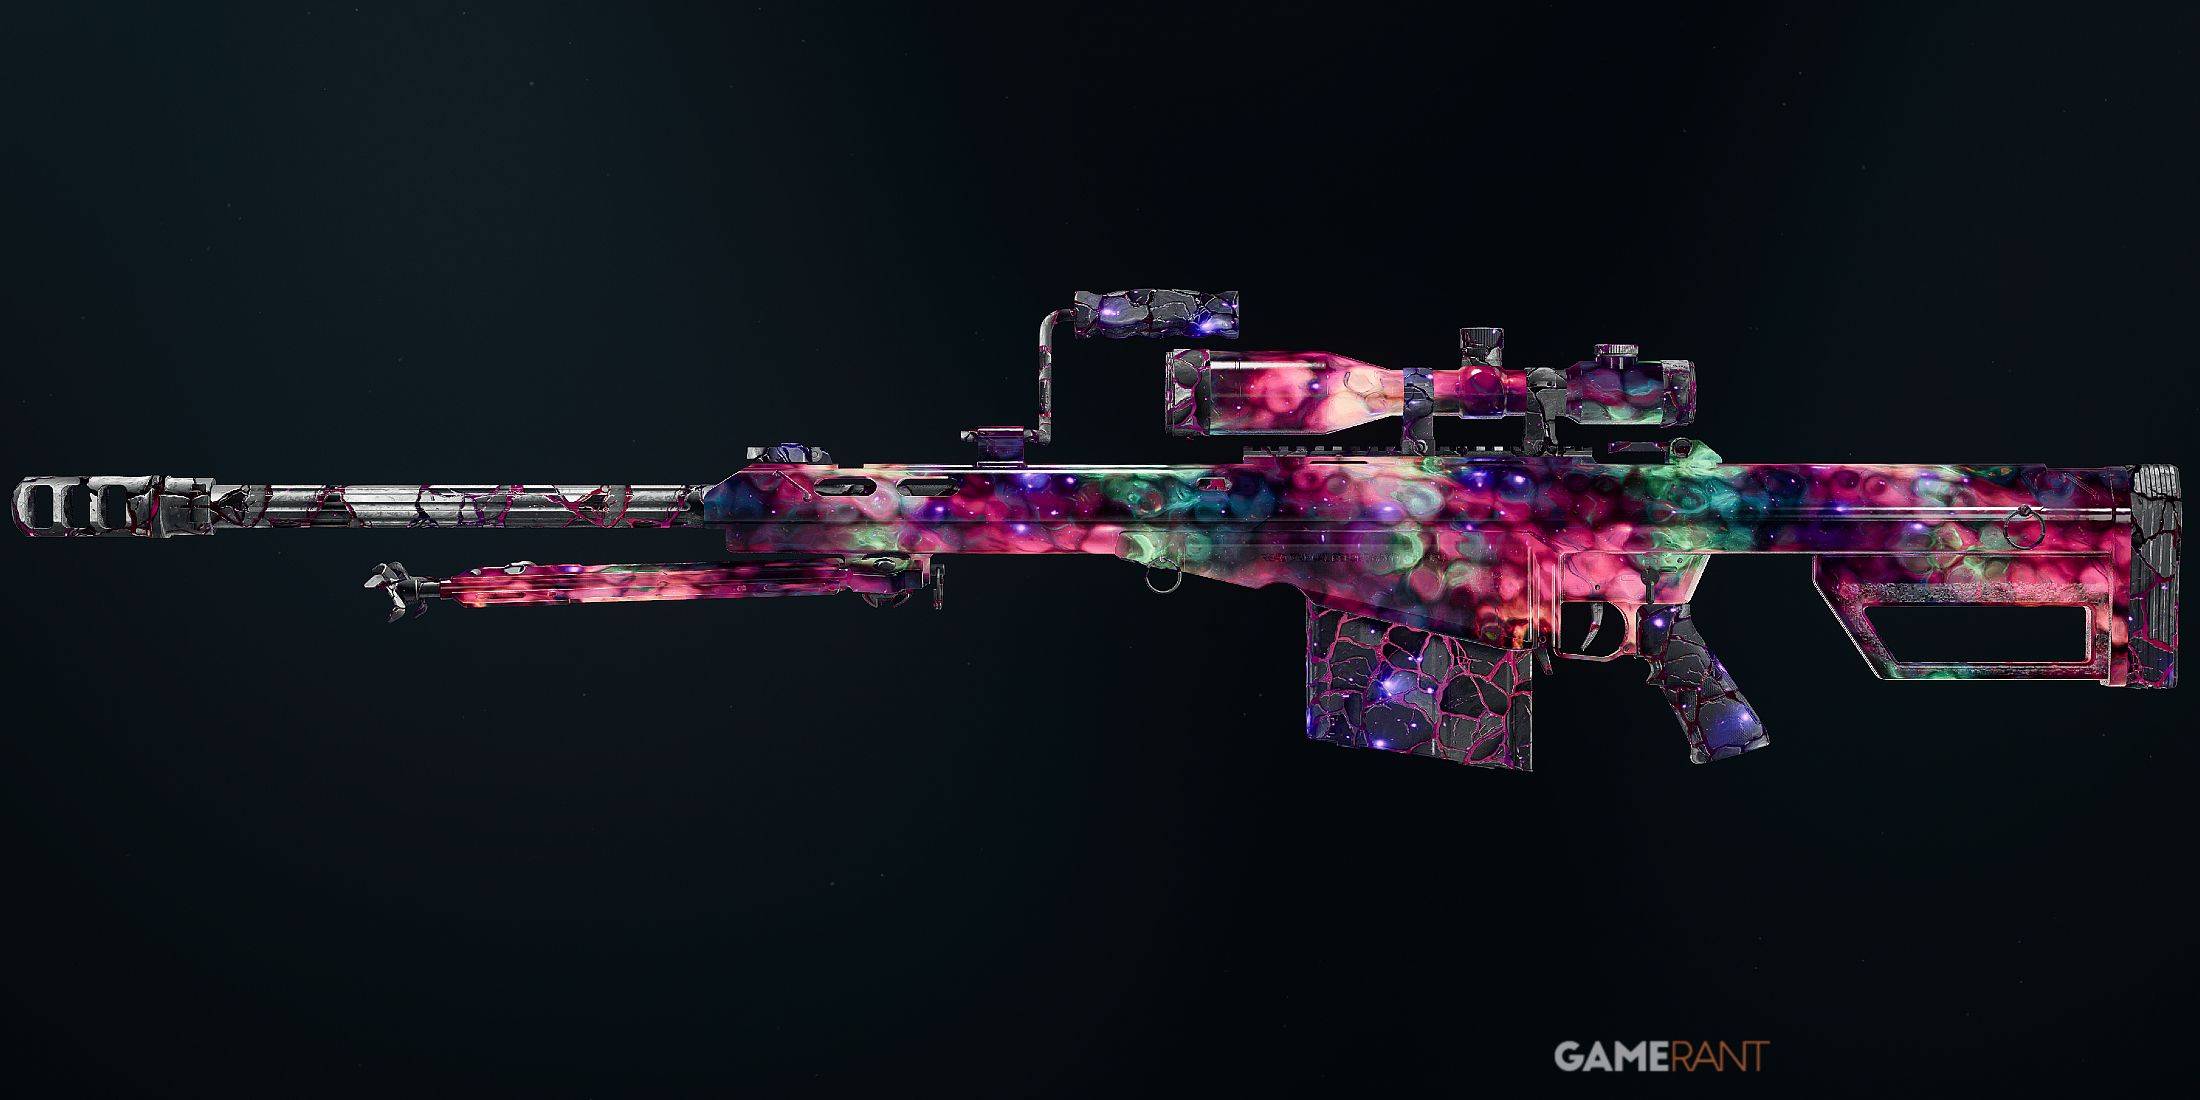
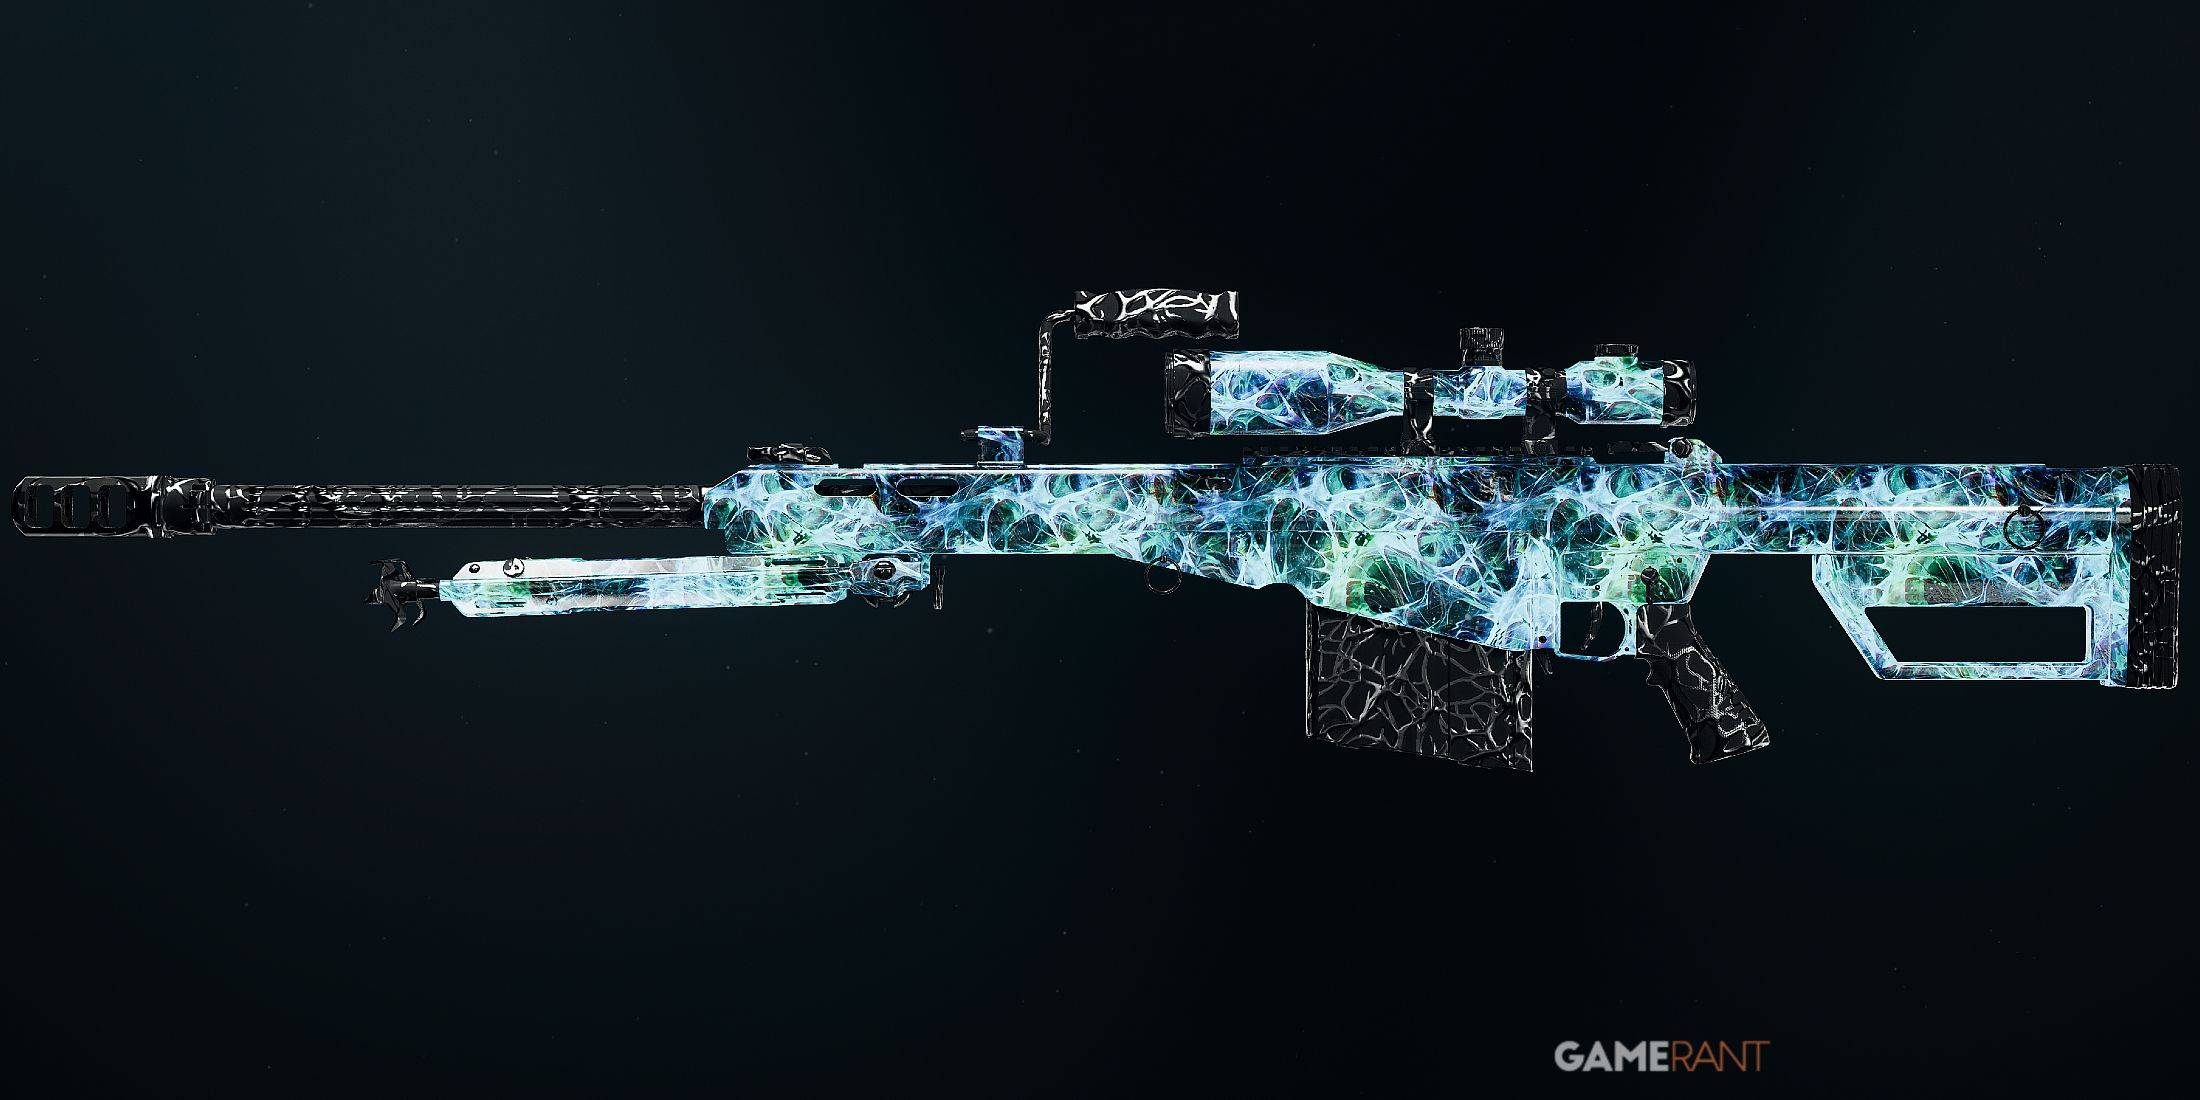
Call of Duty: Black Ops 6 and Warzone deliver heart-pounding action, whether you're in a 6v6 Multiplayer match or battling in Warzone Resurgence. Beyond the intense gameplay, both games offer a wealth of unlockables, some requiring completion of unique challenges. Season 1 introduces the AMR Mod 4 Sniper Rifle, boasting its own camo challenges and unique attachments. This guide details how to unlock every AMR Mod 4 camo and attachment in Black Ops 6 and Warzone.
All AMR Mod 4 Camos
Multiplayer Camos
| Camo Type | Camo Name | How To Unlock |
|---|---|---|
| Military Camos |  Granite Granite | Get 5 headshot kills with the AMR Mod 4 |
 Woodland Woodland | Get 10 headshot kills with the AMR Mod 4 | |
 Savanna Savanna | Get 15 headshot kills with the AMR Mod 4 | |
 Splinter Splinter | Get 20 headshot kills with the AMR Mod 4 | |
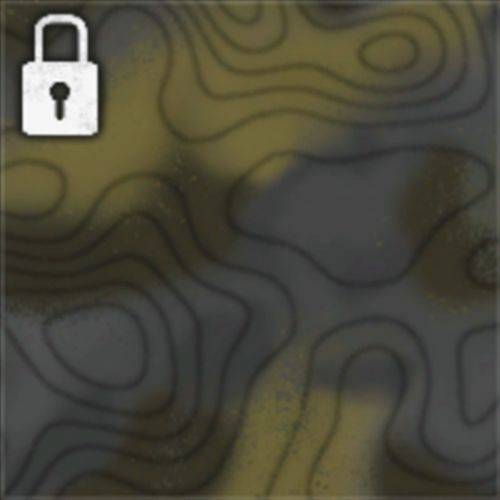 Moss Moss | Get 30 headshot kills with the AMR Mod 4 | |
 Saboteur Saboteur | Get 40 headshot kills with the AMR Mod 4 | |
 Digital Digital | Get 50 headshot kills with the AMR Mod 4 | |
 Tide Tide | Get 75 headshot kills with the AMR Mod 4 | |
 Red Tiger Red Tiger | Get 100 headshot kills with the AMR Mod 4 | |
| Special Camos | 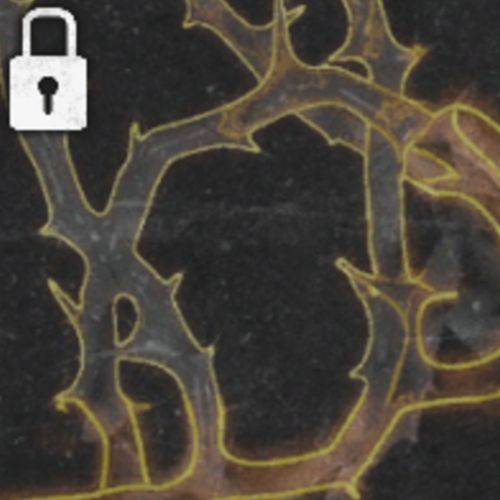 Shadow Thorn Shadow Thorn | Unlock all Military Camos for the AMR Mod 4 in Multiplayer Get 30 one-shot kills with the AMR Mod 4 |
 Tidal Harmony Tidal Harmony | Unlock all Military Camos for the AMR Mod 4 in Multiplayer Get 2 kills without reloading 10 times with the AMR Mod 4 | |
| Mastery Camos |  Gold Gold | Unlock all Multiplayer Special Camos for the AMR Mod 4 Get 10 double kills with the AMR Mod 4 |
 Diamond Diamond | Unlock Gold for the AMR Mod 4 Unlock Gold on 3 other Sniper Rifles Get 3 kills without dying 10 times with the AMR Mod 4 | |
 Dark Spine Dark Spine | Unlock Diamond for the AMR Mod 4 Unlock Diamond on 33 other weapons Get 3 triple kills with the AMR Mod 4 | |
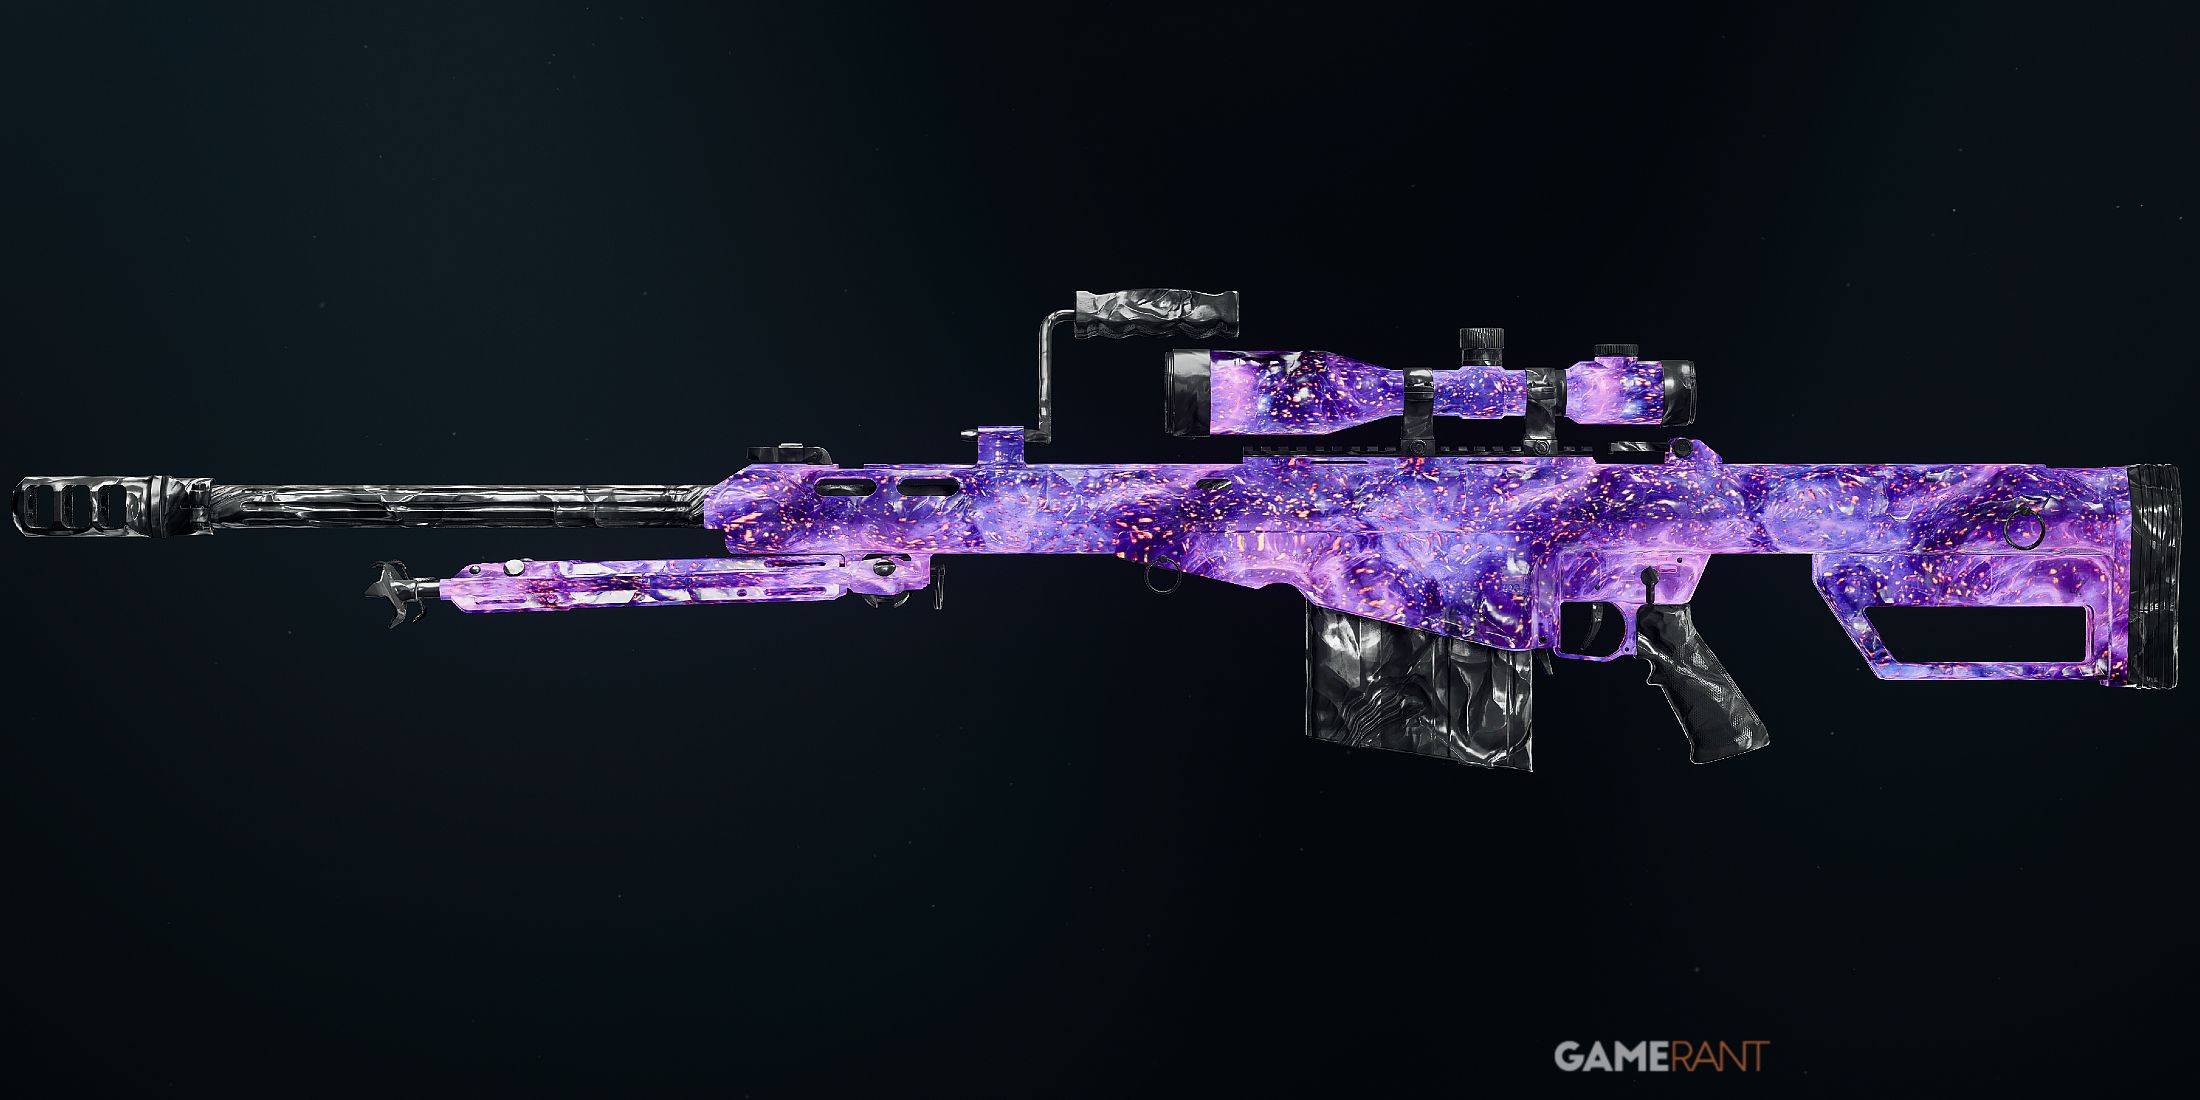
 Dark Matter Dark Matter | Unlock Dark Spine for the AMR Mod 4 Unlock Dark Spine on 33 other weapons Get 5 kills without dying 3 times with the AMR Mod 4 |
Zombies Camos
| Camo Type | Camo Name | How To Unlock |
|---|---|---|
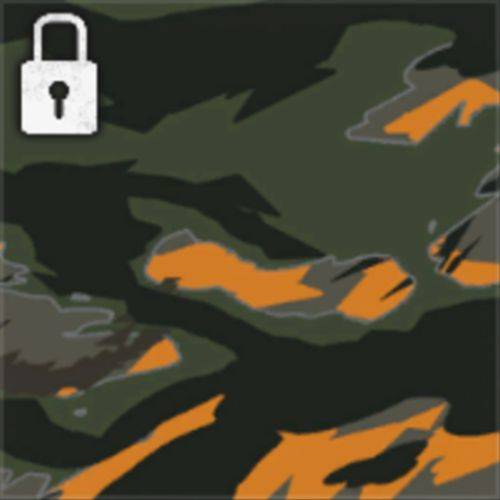
| Military Camos |  Slate Slate | Get 100 critical kills with the AMR Mod 4 |
 Desert Desert | Get 200 critical kills with the AMR Mod 4 | |
 Evergreen Evergreen | Get 300 critical kills with the AMR Mod 4 | |
 Rugged Rugged | Get 400 critical kills with the AMR Mod 4 | |
 Grim Grim | Get 600 critical kills with the AMR Mod 4 | |
 Stripe Stripe | Get 800 critical kills with the AMR Mod 4 | |
 Oceanic Oceanic | Get 1000 critical kills with the AMR Mod 4 | |
 Whiteout Whiteout | Get 1500 critical kills with the AMR Mod 4 | |
 Purple Tiger Purple Tiger | Get 2000 critical kills with the AMR Mod 4 | |
| Special Camos |  Scarthorn Scarthorn | Unlock all Military Camos on the AMR Mod 4 in Zombies Get 5 critical kills rapidly 15 times with the AMR Mod 4 |
 Marine Swirl Marine Swirl | Unlock all Military Camos on the AMR Mod 4 in Zombies Get 10 kills without reloading 15 times with the AMR Mod 4 | |
| Mastery Camos |  Mystic Gold Mystic Gold | Unlock both AMR Mod 4 Special Camos in Zombies Get 10 kills rapidly 15 times with the AMR Mod 4 |
 Opal Opal | Unlock Mystic Gold on the AMR Mod 4 Unlock Mystic Gold on two other Sniper Rifles Get 30 Special Zombie kills with the AMR Mod 4 | |
 Afterlife Afterlife | Unlock Opal on the AMR Mod 4 Unlock Opal on 33 other weapons Get 20 kills without taking damage 10 times with the AMR Mod 4 | |
 Nebula Nebula | Unlock Afterlife on the AMR Mod 4 Unlock Afterlife on 33 other weapons Get 10 Elite Zombie eliminations with the AMR Mod 4 |
Warzone Camos
| Camo Type | Camo Name | How To Unlock |
|---|---|---|
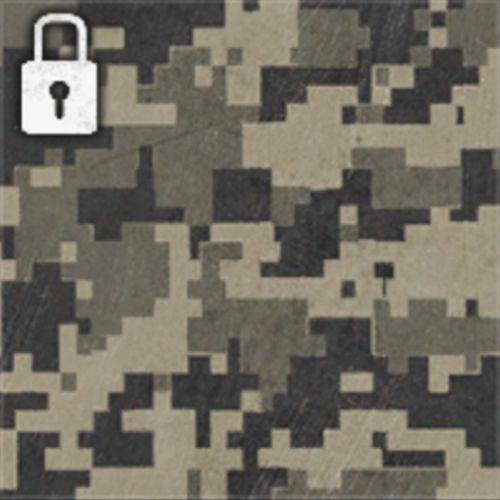
| Military Camos |  Quartz Quartz | Get 5 kills with the AMR Mod 4 |
 Tundra Tundra | Get 10 kills with the AMR Mod 4 | |
 Canyon Canyon | Get 15 kills with the AMR Mod 4 | |
 Pine Pine | Get 20 kills with the AMR Mod 4 | |
 Undergrowth Undergrowth | Get 30 kills with the AMR Mod 4 | |
 Snakeskin Snakeskin | Get 40 kills with the AMR Mod 4 | |
 Siberia Siberia | Get 50 kills with the AMR Mod 4 | |
 Smolder Smolder | Get 75 kills with the AMR Mod 4 | |
 Blue Tiger Blue Tiger | Get 100 kills with the AMR Mod 4 | |
| Special Camos |  Bramblethorn Bramblethorn | Unlock all Military Camos on the AMR Mod 4 in Warzone Get 2 kills within 30 seconds 5 times with the AMR Mod 4 |
 Sunlit Shoal Sunlit Shoal | Unlock all Military Camos on the AMR Mod 4 in Warzone Get 2 kills while prone within 20 seconds 5 times with the AMR Mod 4 | |
| Mastery Camos |  Gold Tiger Gold Tiger | Unlock both AMR Mod 4 Special Camos in Warzone Get 5 eliminations whilst being the Most Wanted target with the AMR Mod 4 |
 King's Ransom King's Ransom | Unlock Gold Tiger on the AMR Mod 4 Unlock Gold Tiger on 3 other Sniper Rifles Get 3 kills without dying 5 times with the AMR Mod 4 | |
 Catalyst Catalyst | Unlock King's Ransom on the AMR Mod 4 Unlock King's Ransom on 33 other weapons Kill 5 Operators affected by your Stun Grenade, Flash Grenade, or Shock Charge with the AMR Mod 4 | |
 Abyss Abyss | Unlock Catalyst on the AMR Mod 4 Unlock Catalyst on 33 other weapons Get 5 kills without dying 2 times with the AMR Mod 4 |
All AMR Mod 4 Attachments
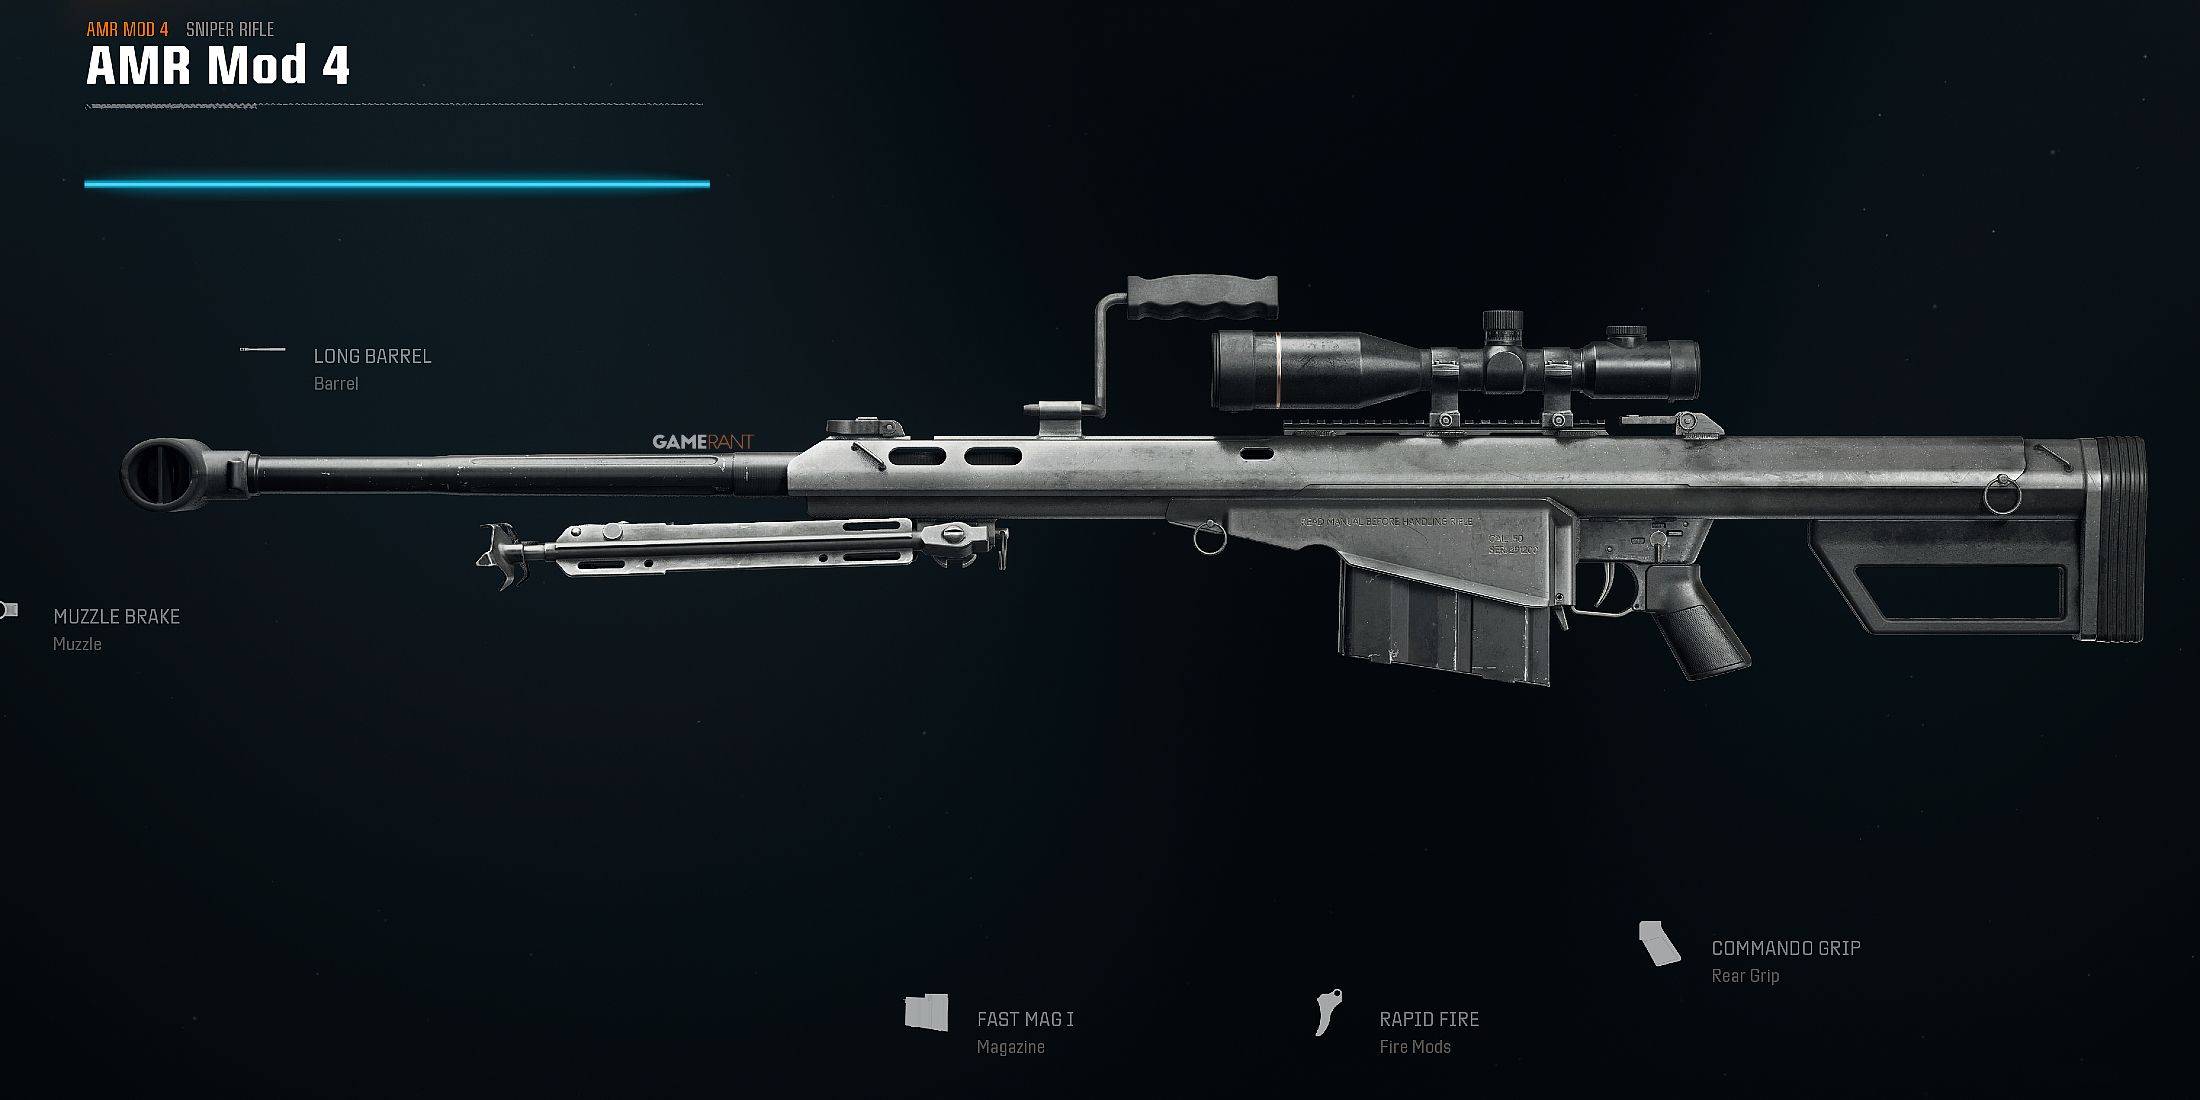
The AMR Mod 4 offers extensive customization options, with dozens of attachment combinations to create your perfect sniper loadout. Most attachments unlock through the weapon's 39 level progression, while some shared optics are tied to other weapons' level progressions.
Optics
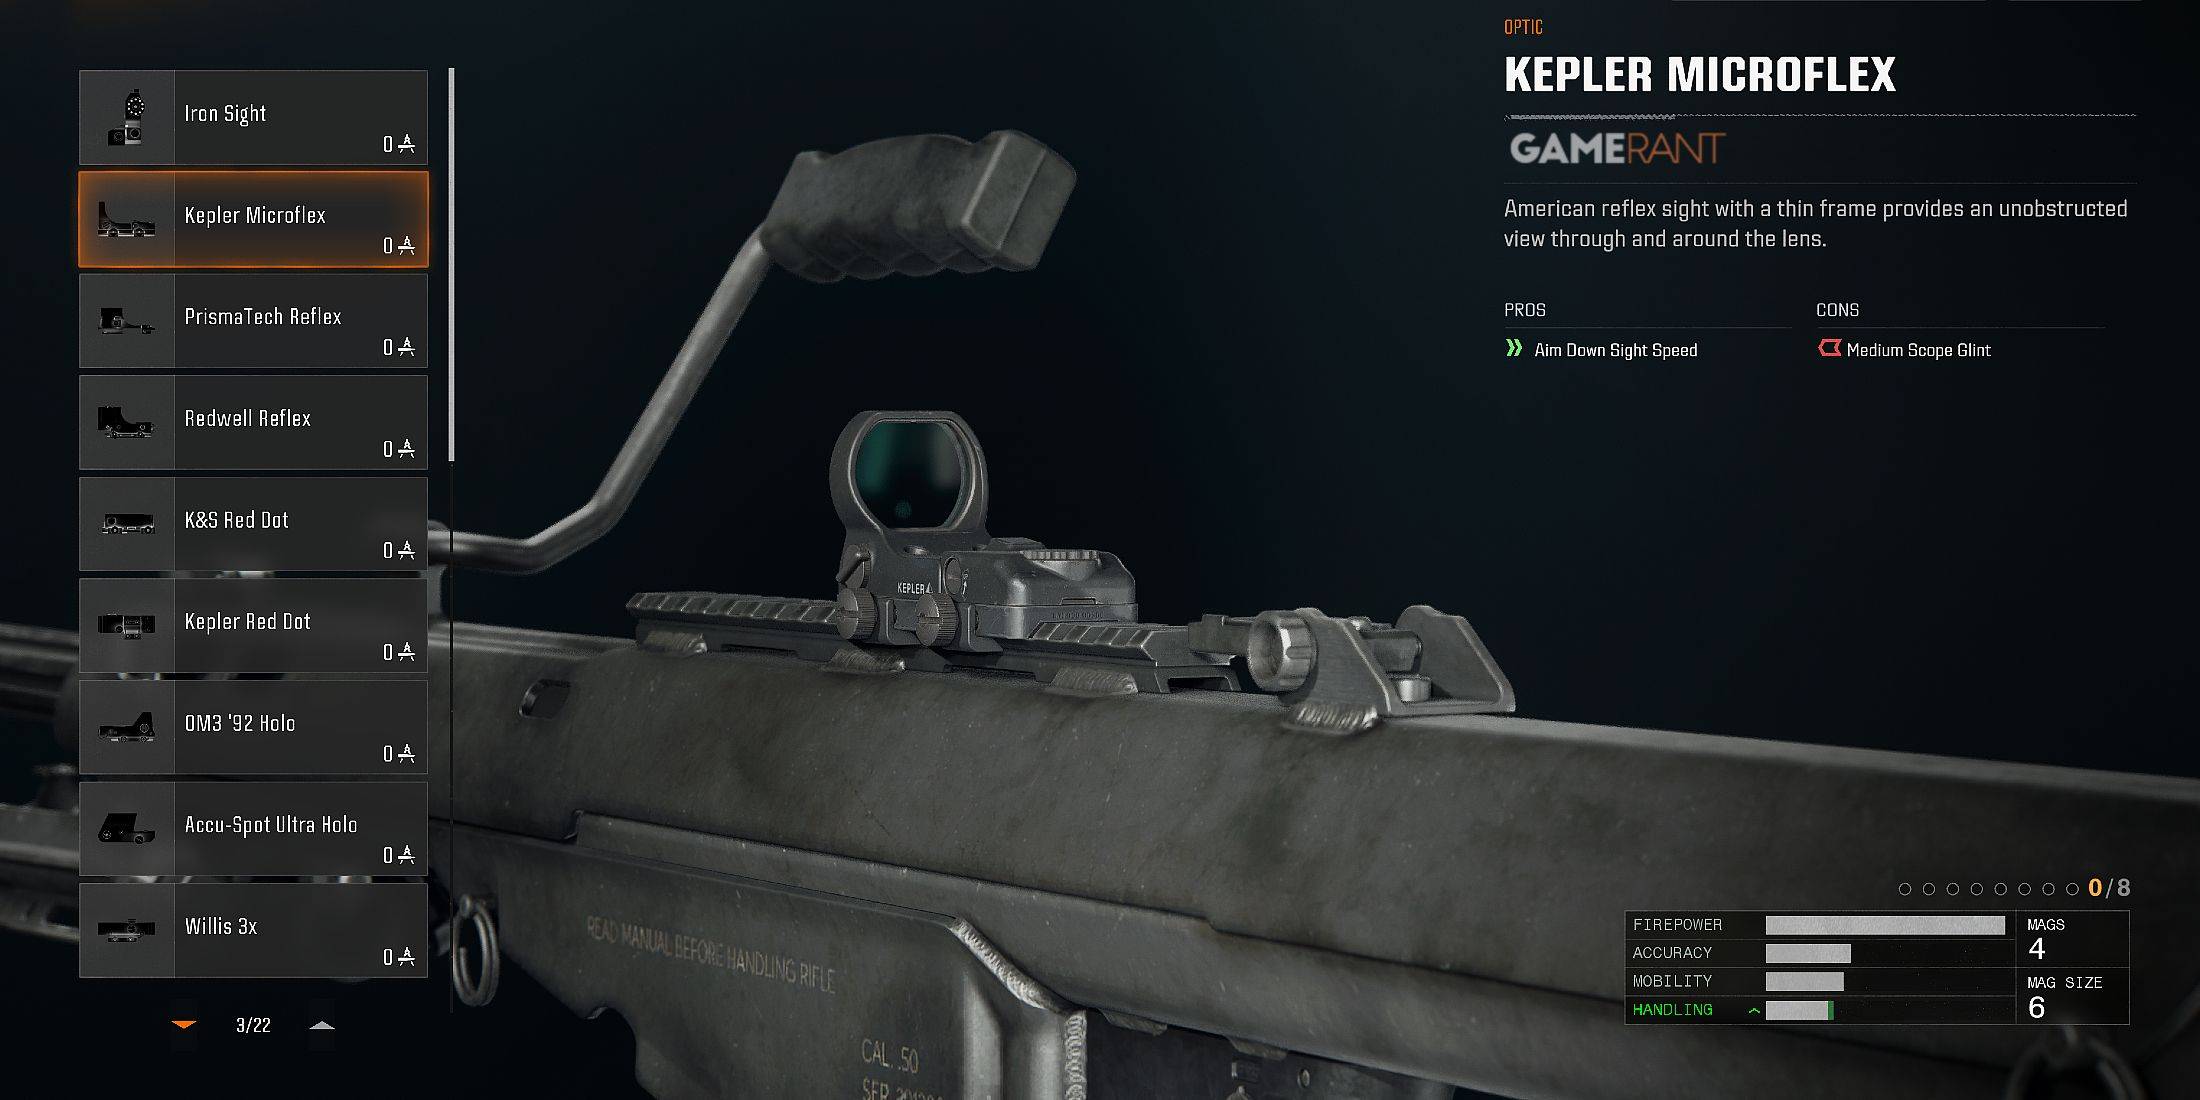
| Attachment | Pros | Cons |
|---|---|---|
| Iron Sight | Improved Aim Down Sight Speed | |
| Kepler Microflex | Improved Aim Down Sight Speed | Medium Sniper Scope Glint |
| PrismaTech Reflex | Improved Aim Down Sight Speed | Medium Sniper Scope Glint |
| Redwell Reflex | Improved Aim Down Sight Speed | Medium Sniper Scope Glint |
| K&S Red Dot | Improved Aim Down Sight Speed | Large Sniper Scope Glint |
| Kepler Red Dot | Improved Aim Down Sight Speed | Large Sniper Scope Glint |
| OM3 '92 Holo | 1.5x Magnification Improved Aim Down Sight Speed | Large Sniper Scope Glint |
| ACCU-Spot Ultra Holo | 3x Magnification | Large Sniper Scope Glint |
| Willis 3x | 3x Magnification | Large Sniper Scope Glint |
| PrismaTech 4x | 4x Magnification | Large Sniper Scope Glint |
| Dobrych 4x | 4x Magnification | Large Sniper Scope Glint |
| K&S Thermal Holo | 1.5x Magnification Thermal Target Identification | Large Sniper Scope Glint |
| Pinpoint Hybrid | Dual Optics Toggle 4.5x Magnification | Large Sniper Scope Glint |
| PrismaPoint Hybrid | Dual Optics Toggle 4.5x Magnification | Large Sniper Scope Glint |
| R&K Multizoom | 3x & 7x Magnification | Large Sniper Scope Glint |
| Remuda Range Finder | 4.5x Magnification Target Range Indicator | Large Sniper Scope Glint Reduced Aim Down Sight Speed |
| Blandwell 7x Scope | 7x Magnification | Large Sniper Scope Glint |
| Remuda Dual Zoom | 11x & 6x Magnification | Large Sniper Scope Glint |
| VMF Variable Scope | 12x, 4x, & 8x Magnification | Large Sniper Scope Glint Reduced Aim Down Sight Speed |
| Redwell Custom Zoom | 6x, 10x, & 14x Magnification | Large Sniper Scope Glint Reduced Aim Down Sight Speed |
| Otero Thermal 2x | 2x Magnification Thermal Target Identification | Large Sniper Scope Glint Reduced Aim Down Sight Speed |
| Thermal 6x | 6x Magnification Thermal Target Identification | Reduced Aim Down Sight Speed |
Muzzles
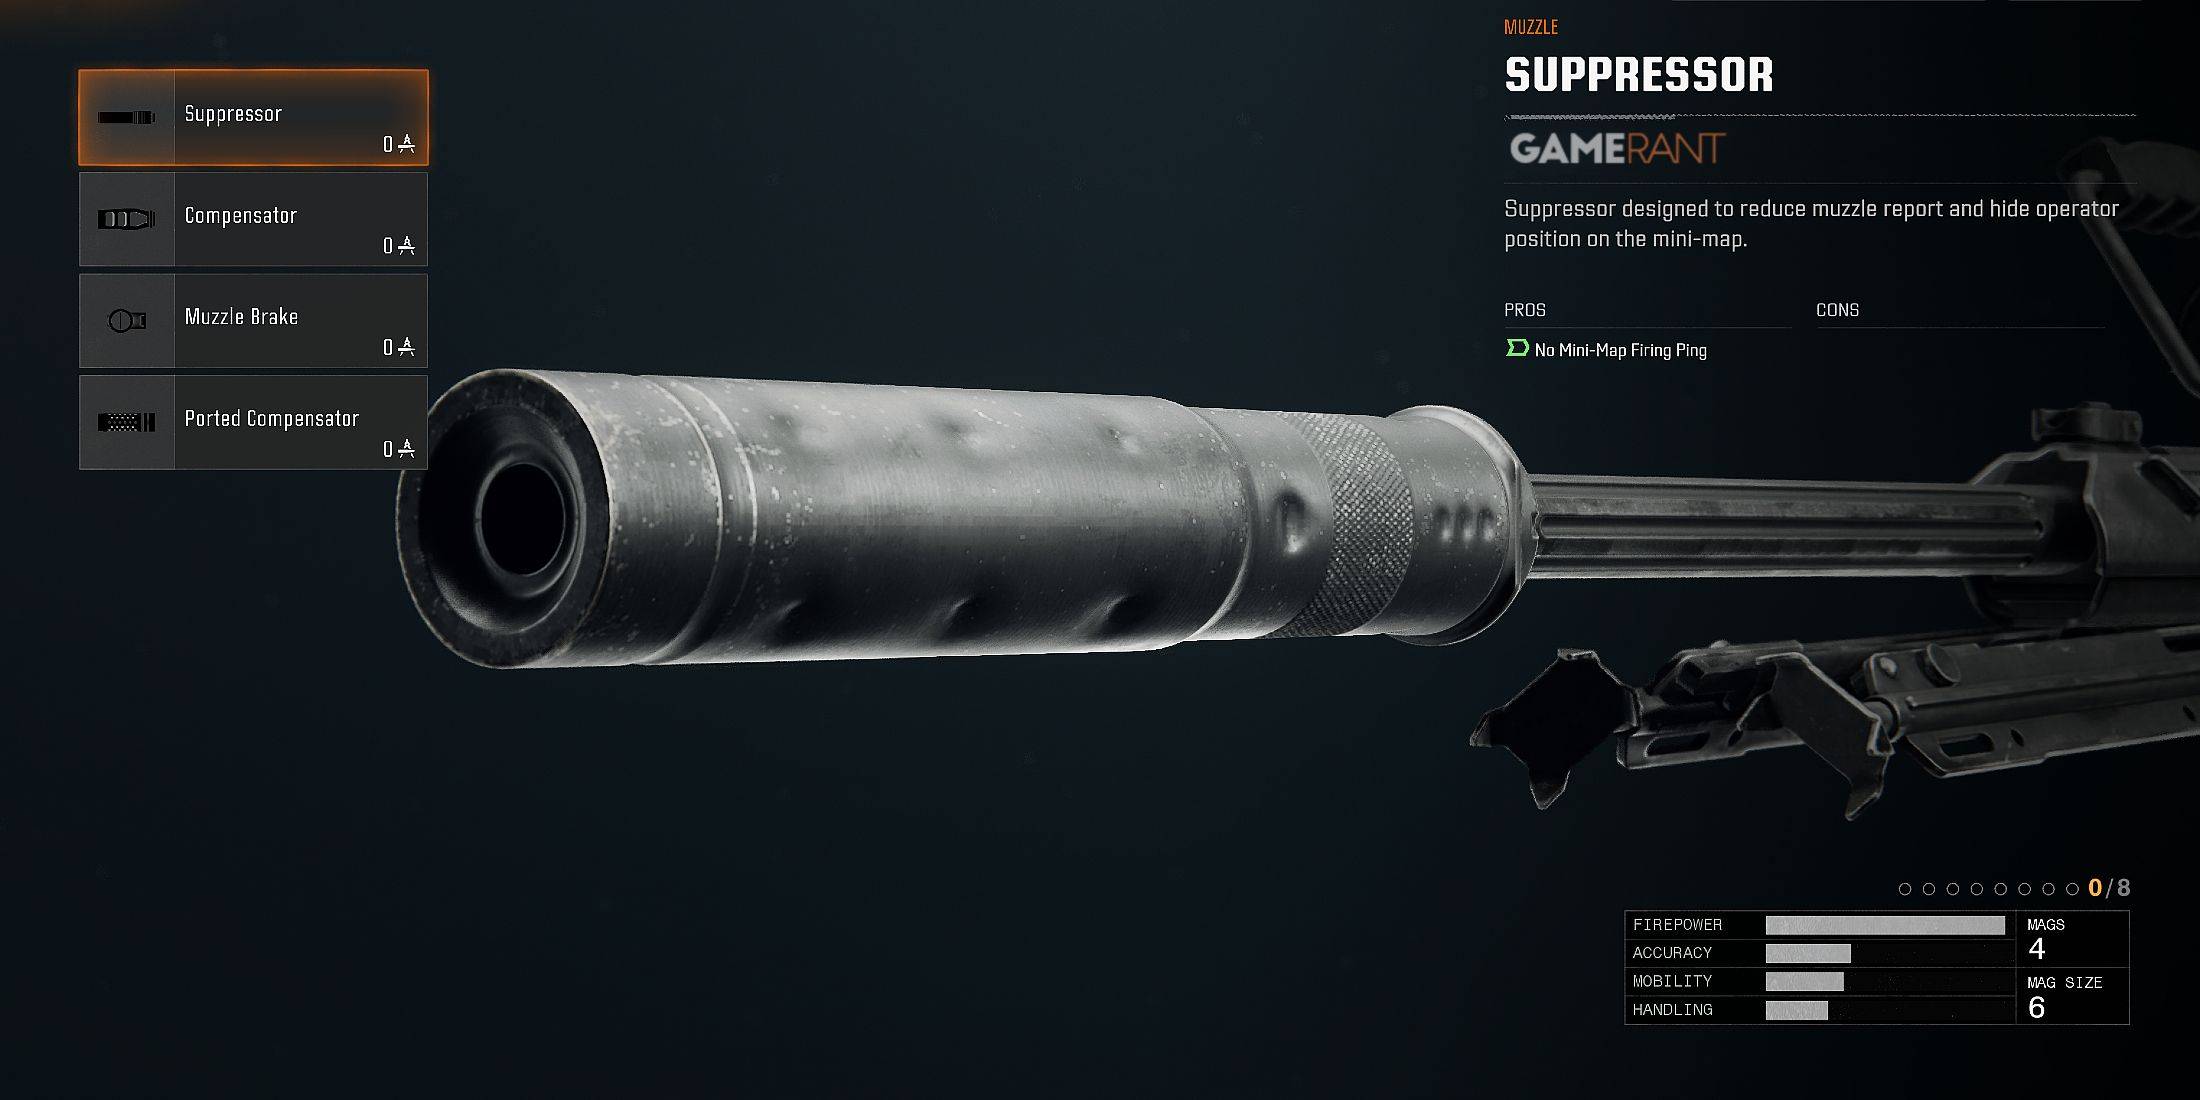
| Attachment | Pros | Cons |
|---|---|---|
| Suppressor | No Ping On The Minimap When Firing | |
| Compensator | Improved Vertical Recoil Control | |
| Muzzle Break | Improved First Shot Recoil Control Improved Kick Reset Speed | |
| Ported Compensator | Improved First Shot Recoil Control Improved Vertical Recoil Control |
Barrels
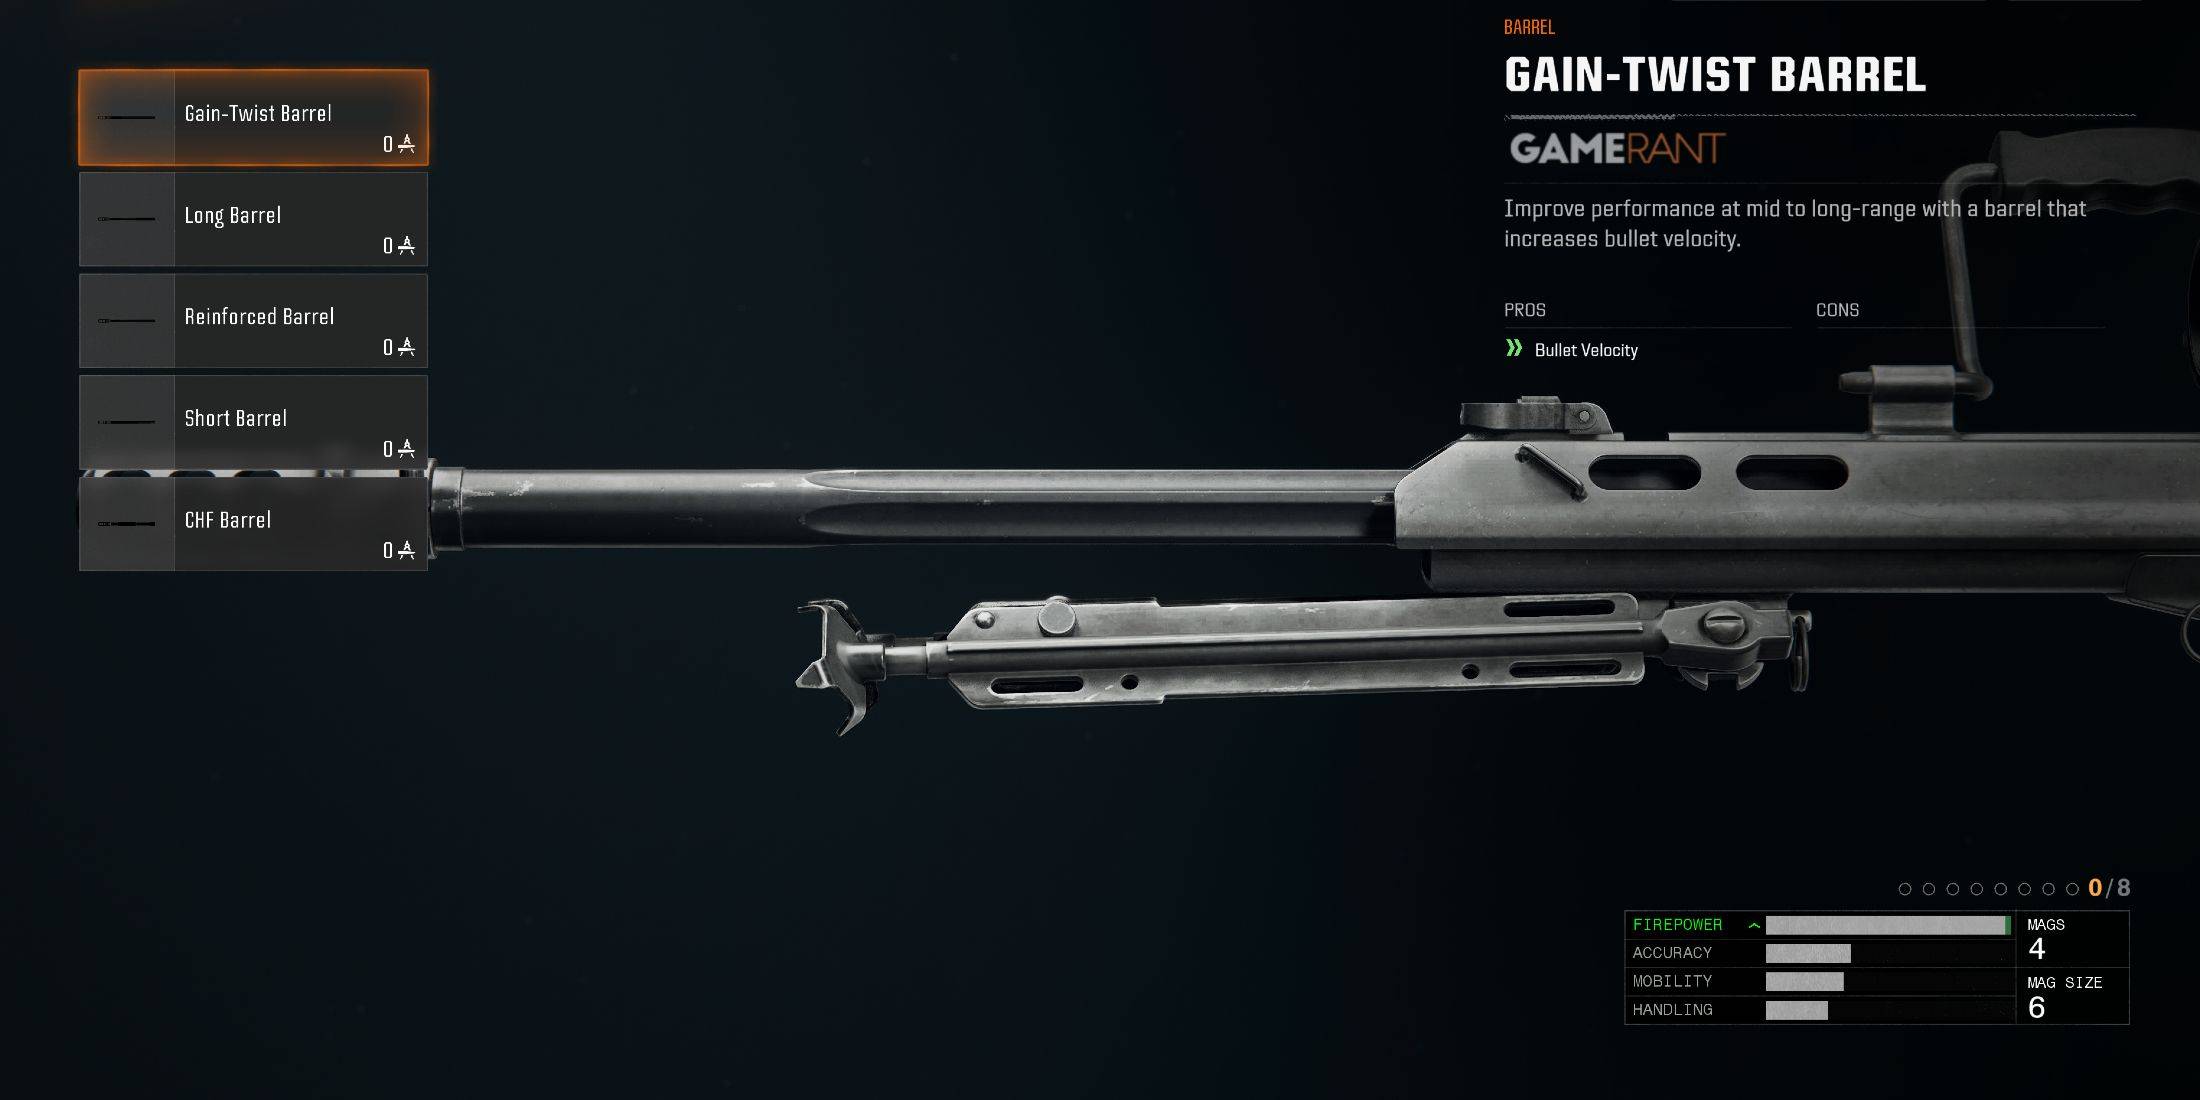
| Attachment | Pros | Cons |
|---|---|---|
| Gain-Twist Barrel | Bullet Velocity | |
| Long Barrel | Damage Range | |
| Reinforced Barrel | Damage Range Bullet Velocity | |
| Short Barrel | Improved Jumping Aim Down Sight Speed Improved Jumping Sprint to Fire Speed | |
| CHF Barrel | Increased Legs Hit Location Multiplier | Reduced Horizontal Recoil Control Reduced Vertical Recoil Control Reduced Aim Down Sight Speed |
Stockpads
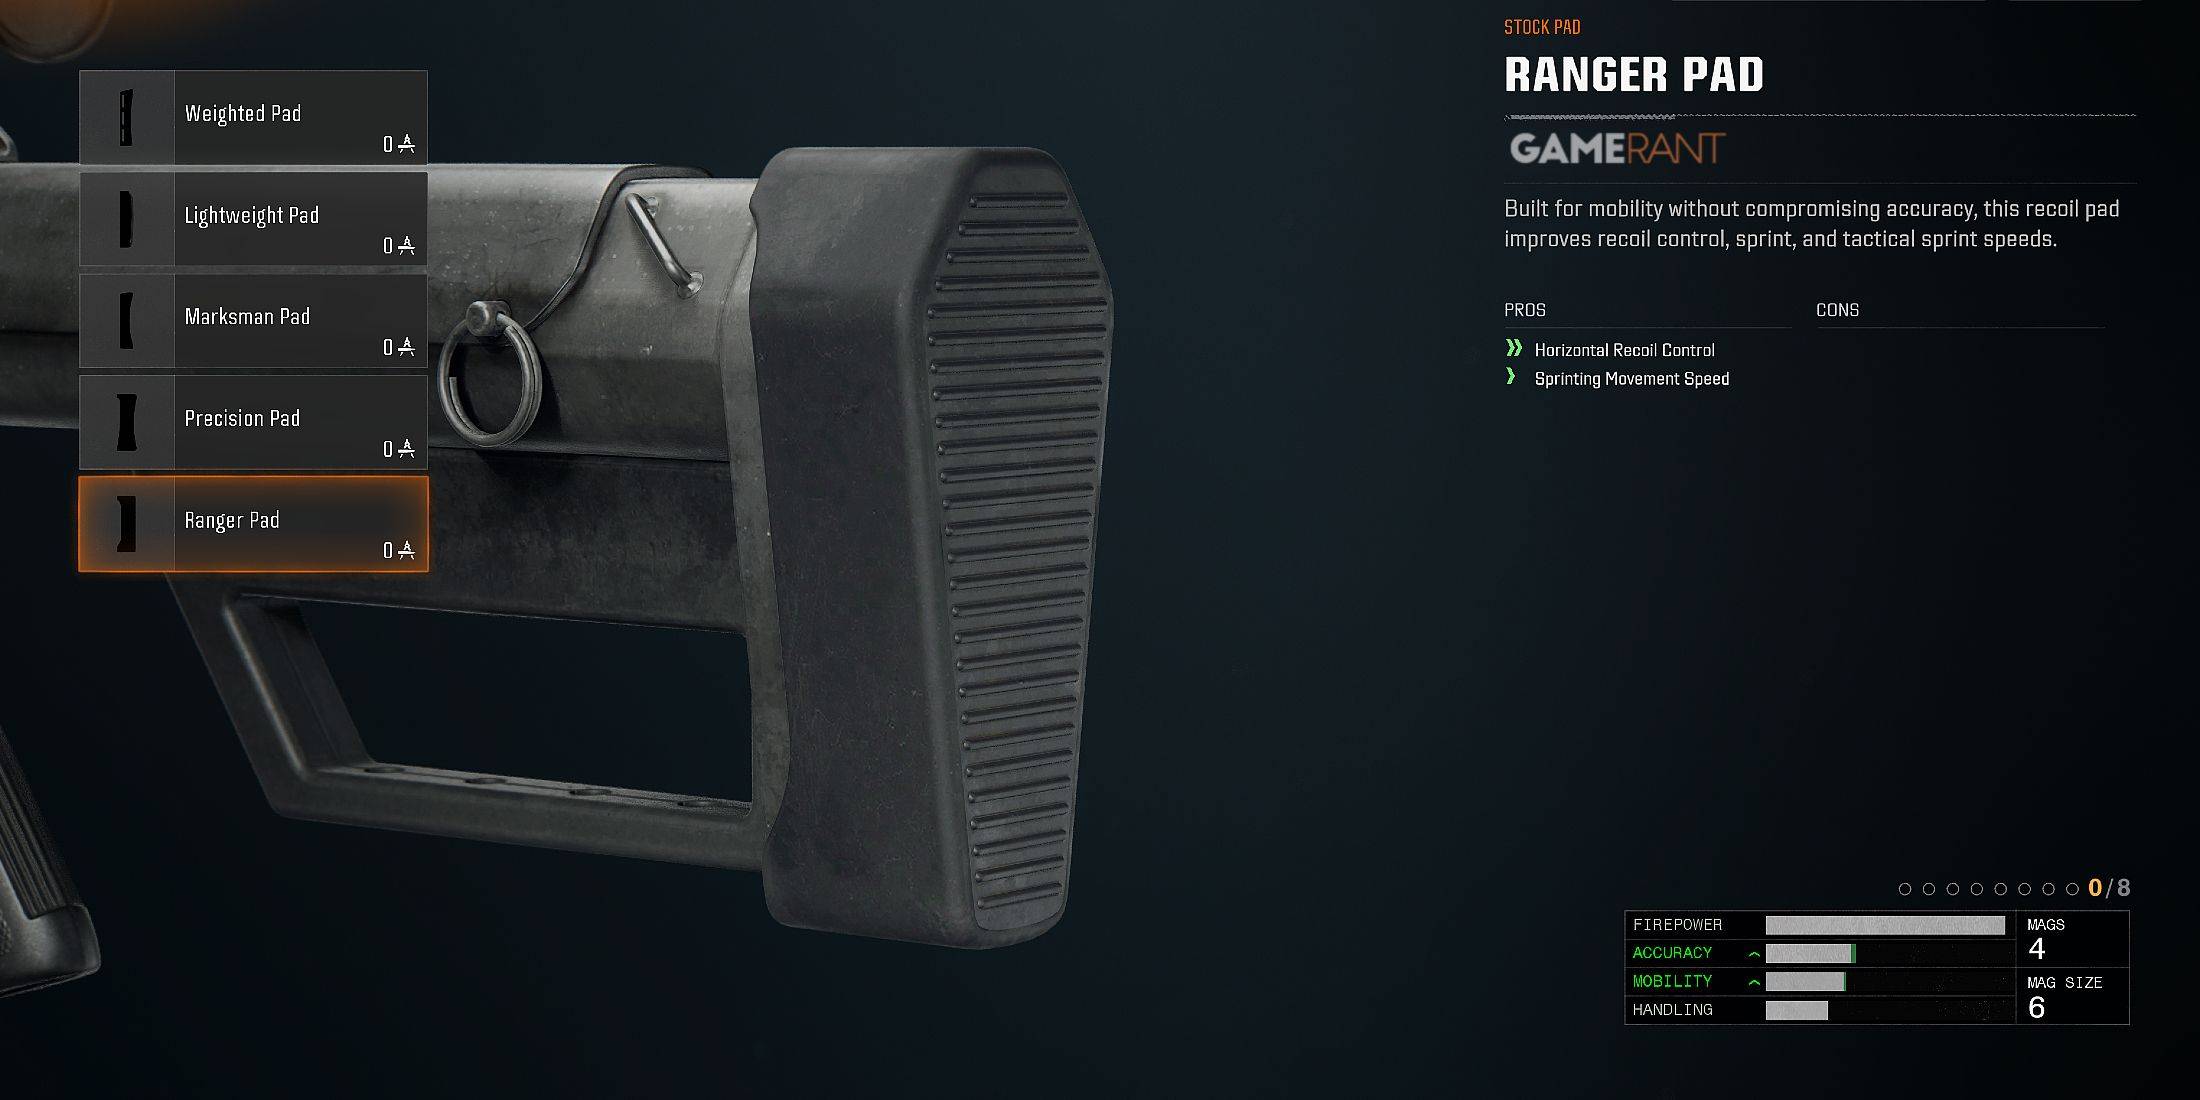
| Attachment | Pros | Cons |
|---|---|---|
| Weighted Pad | Improved Horizontal Recoil Control | |
| Lightweight Pad | Reduced Aiming Idle Sway | |
| Marksman Pad | Improved Aim Down Sight Focus | |
| Precision Pad | Reduced Aiming Idle Sway Improved Horizontal Recoil Control | |
| Ranger Pad | Improved Horizontal Recoil Control Improved Sprinting Speed |
Magazines
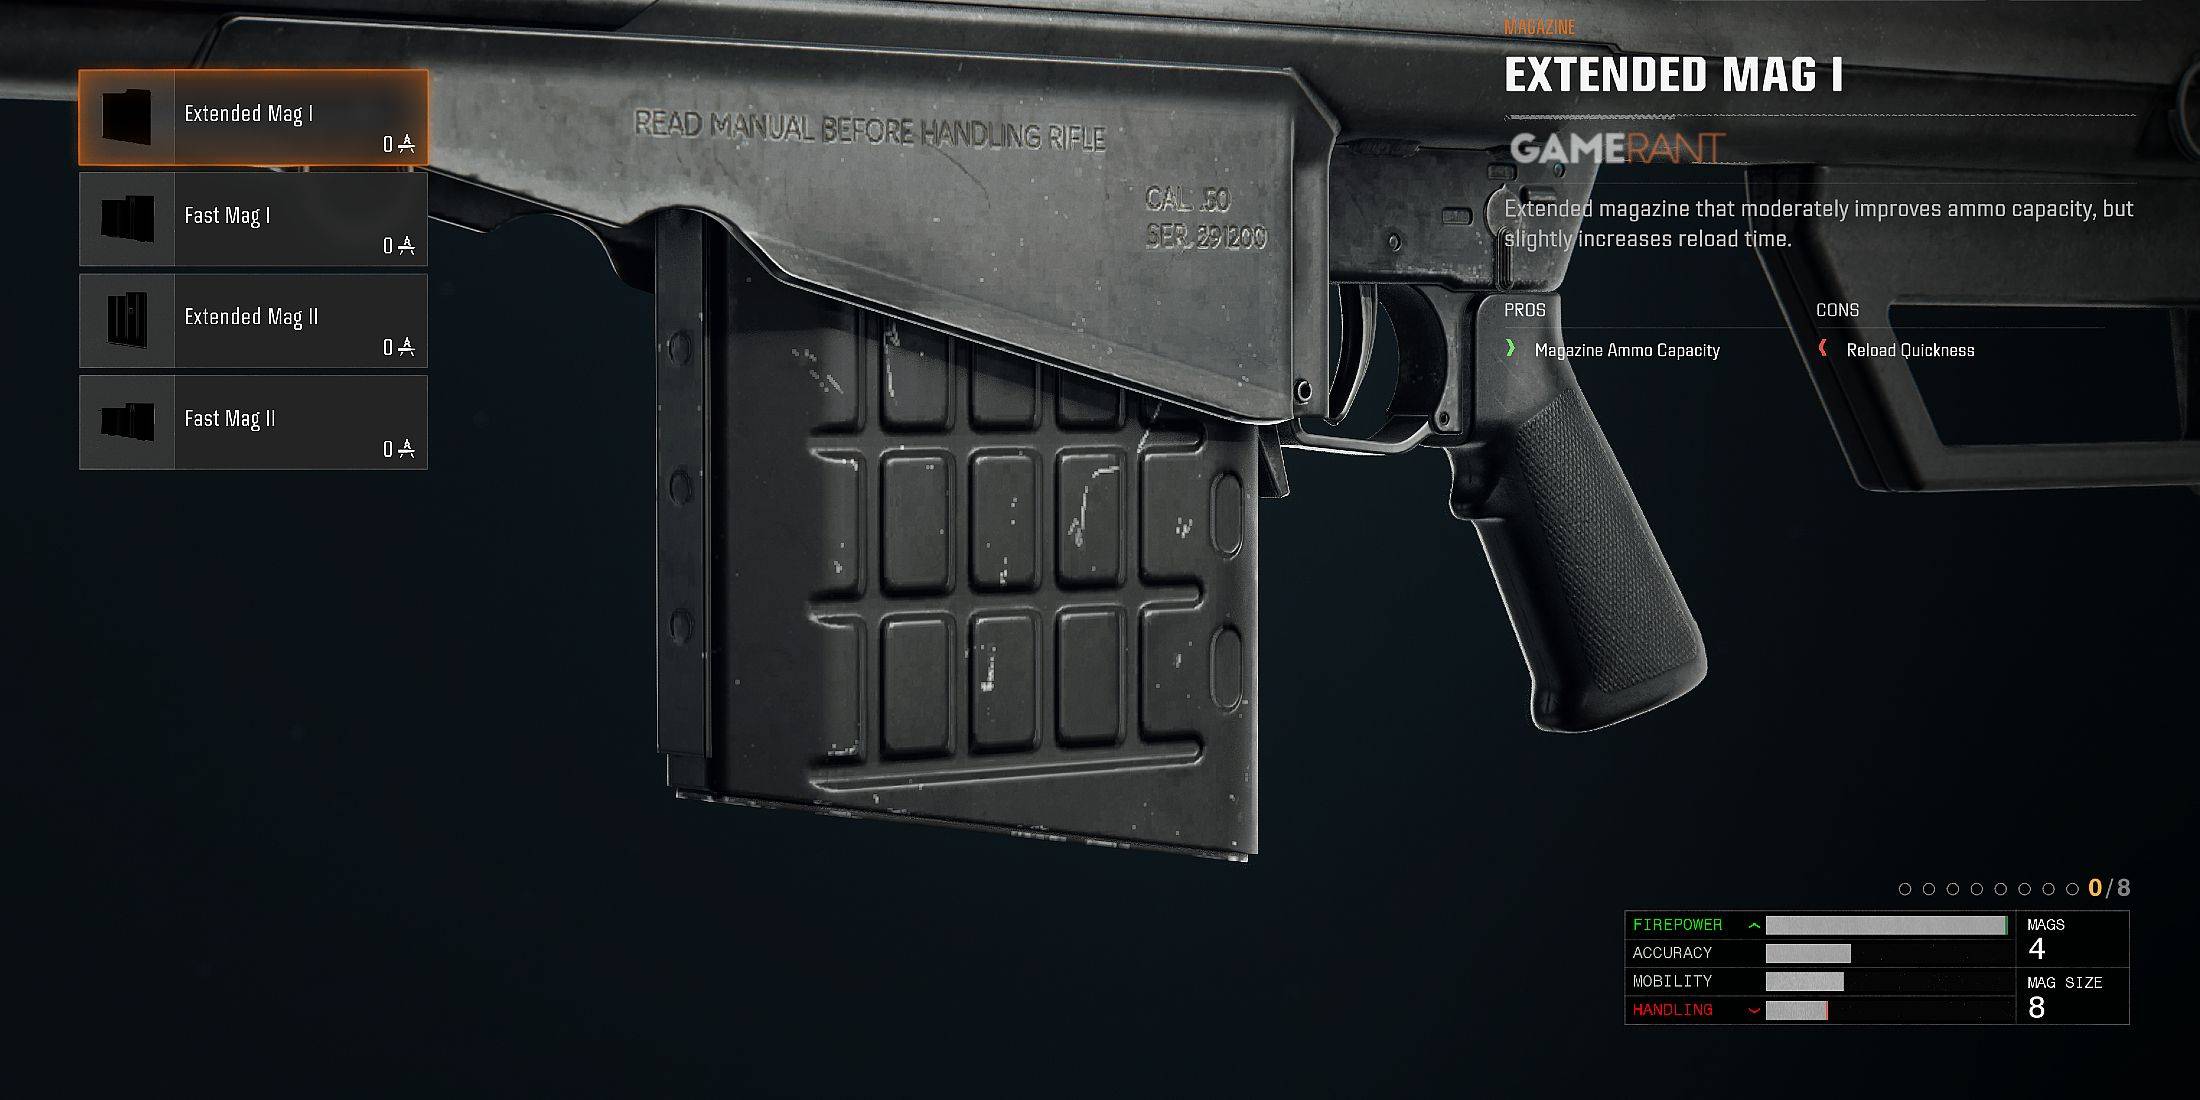
| Attachment | Pros | Cons |
|---|---|---|
| Extended Mag I | Increased Ammo Capacity | Reduced Reload Quickness |
| Fast Mag I | Improved Reload Quickness Improved Aim Down Sight Speed Improved Sprint to Fire Speeds | Reduced Magazine Ammo Capacity |
| Extended Mag II | Increased Ammo Capacity | Reduced Aim Down Sight Speed Reduced Reload Quickness Reduced Sprint to Fire Speed |
| Fast Mag II | Improved Reload Quickness Improved Aim Down Sight Speed Improved Sprint to Fire Speeds | Reduced Magazine Ammo Capacity |
Rear Grips

| Attachment | Pros | Cons |
|---|---|---|
| Quickdraw Grip | Improved Aim Down Sight Speed | Reduced Flinch Resistance |
| Assault Grip | Improved Sprint to Fire Speed | |
| Commando Grip | Improved Aim Down Sight Speed Improved Sprint to Fire Speed | |
| Ergonomic Grip | Improved Slide to Fire Speed Improved Dive to Fire Speed Improved Aim Down Sight Speed | Reduced Flinch Resistance |
| CQB Grip | Improved Dive to Fire Speed Improved Slide to Fire Speed Improved Sprint to Fire Speed |
Combs
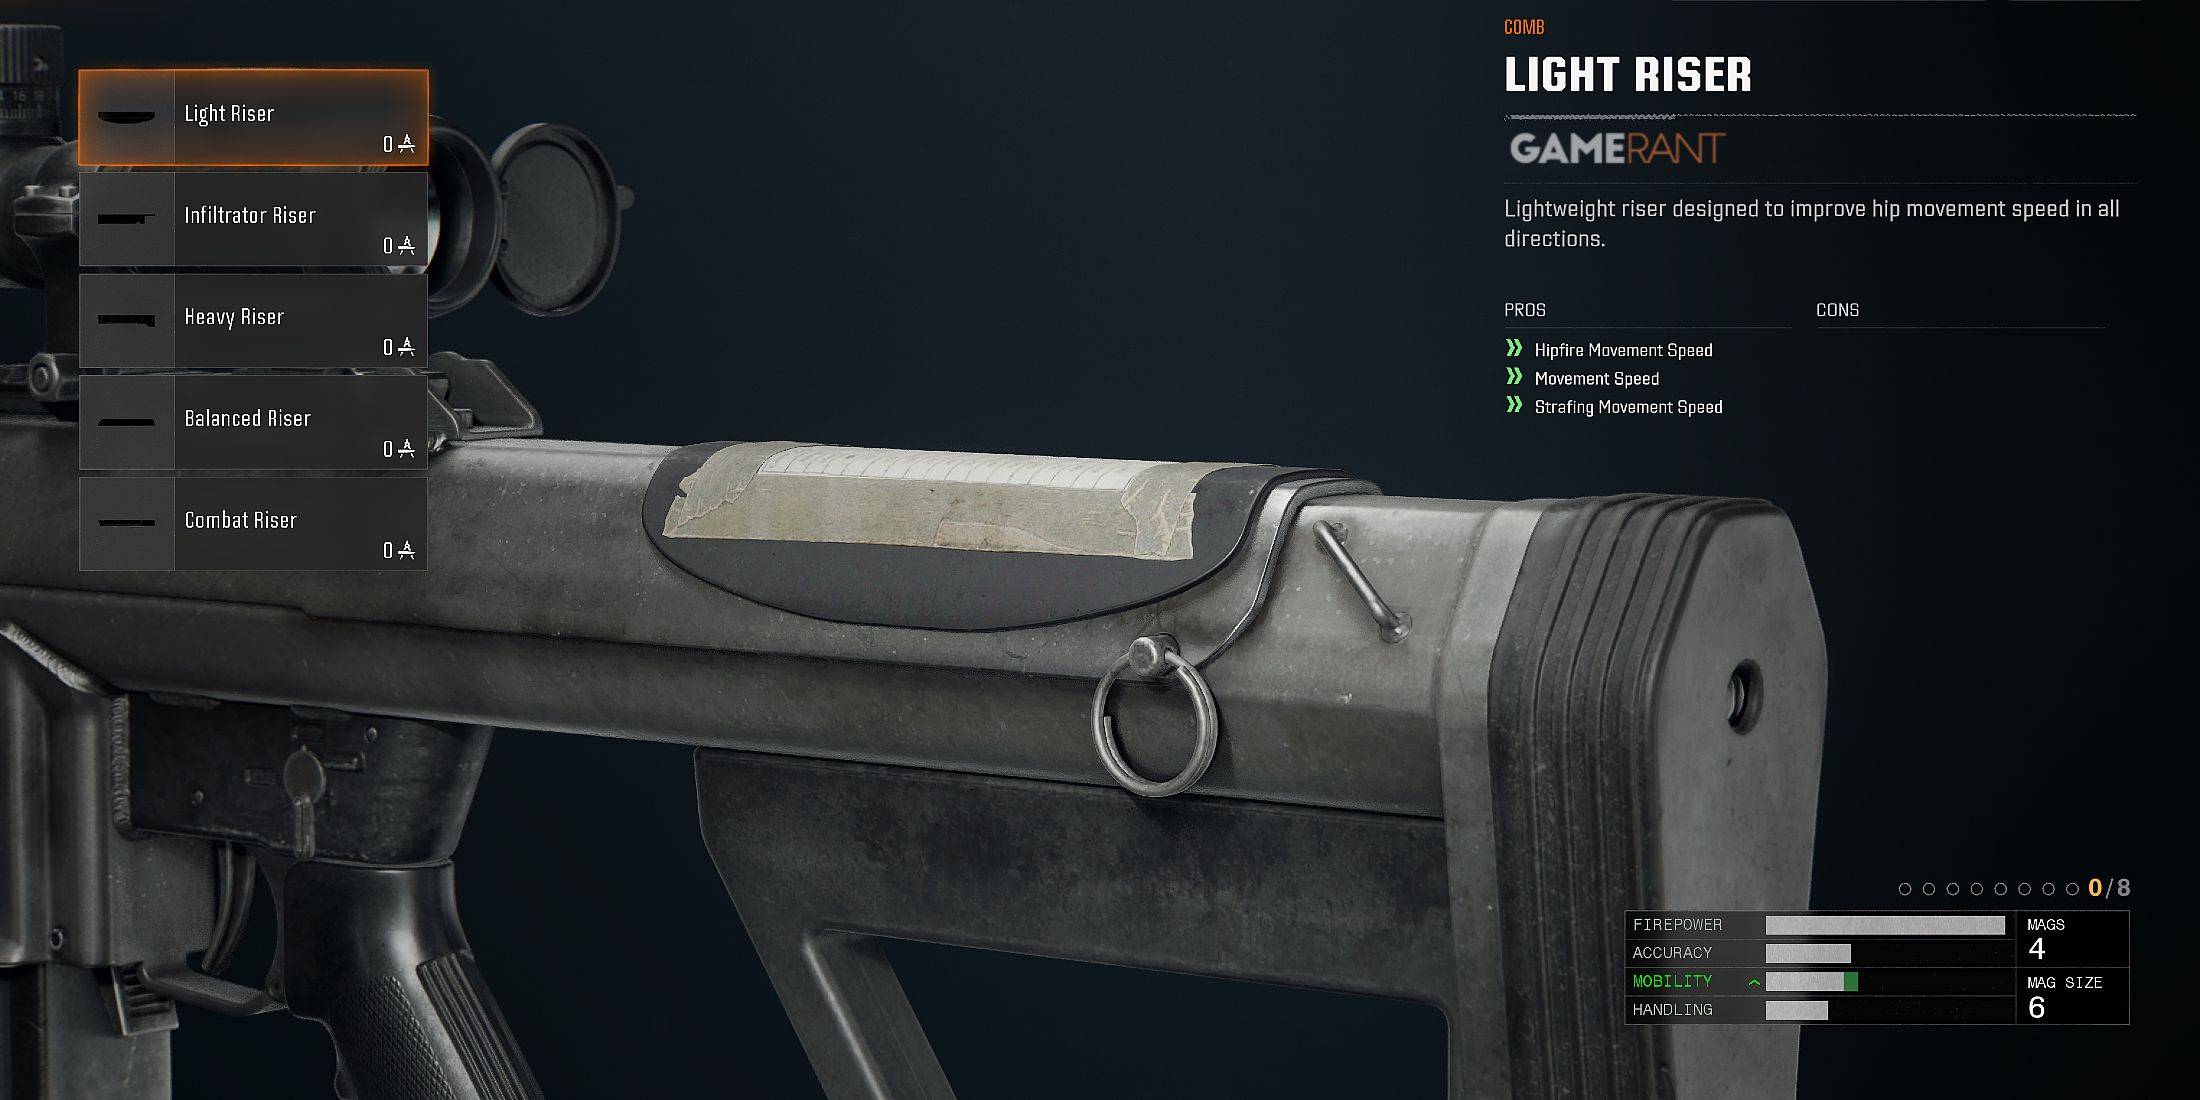
| Attachment | Pros | Cons |
|---|---|---|
| Light Riser | Improved Hipfire Movement Speed Improved Movement Speed Improved Strafing Movement Speed | |
| Infiltrator Riser | Improved Aim Walking Speed | |
| Heavy Riser | Increased Flinch Resistance | |
| Balanced Riser | Improved Aim Walking Speed Improved Movement Speed Improved Hipfire Movement Speed Improved Strafing Movement Speed | |
| Combat Riser | Increased Flinch Resistance Improved Aim Walking Speed |
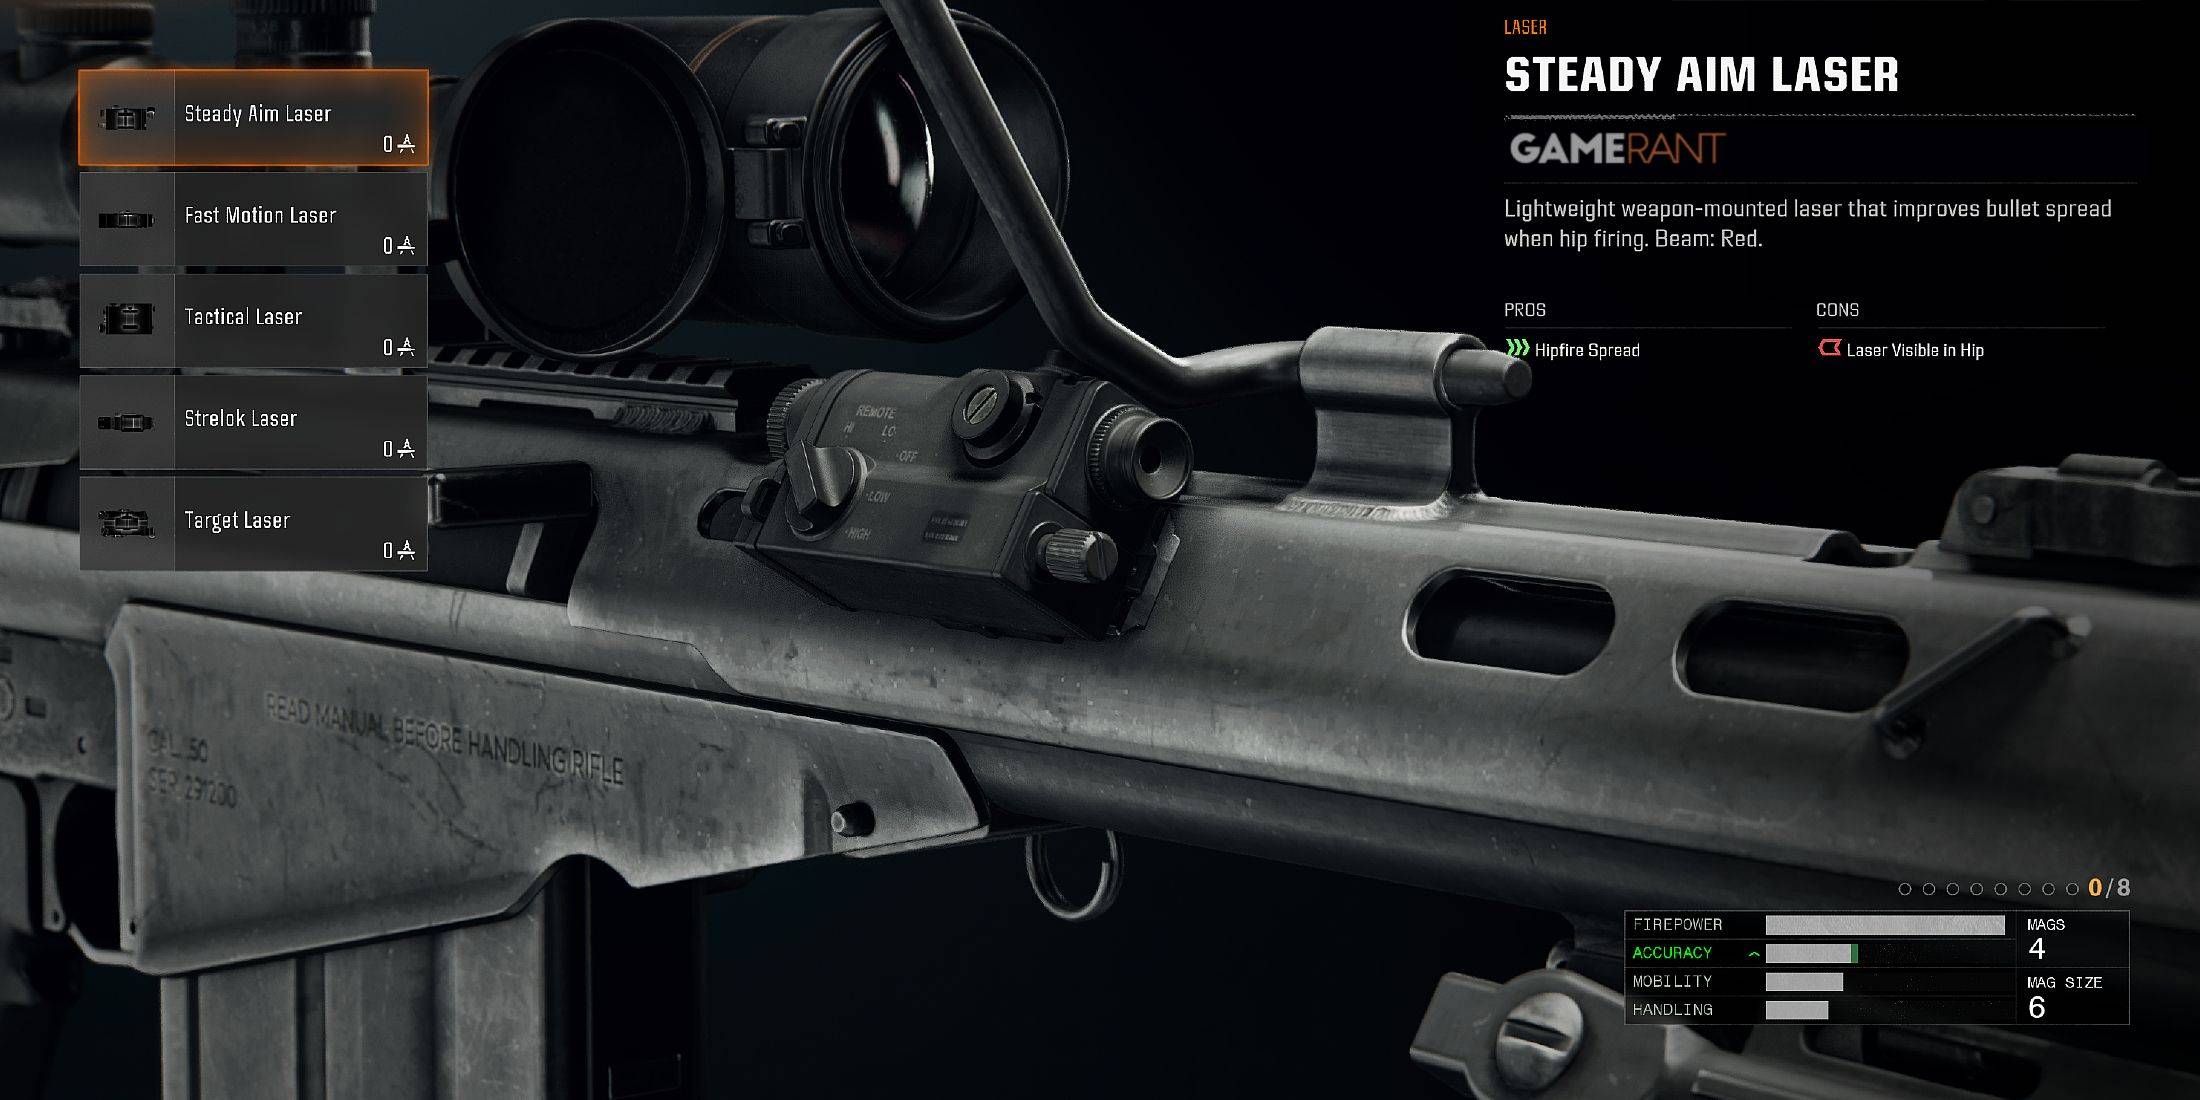
Lasers
| Attachment | Pros | Cons |
|---|---|---|
| Steady Aim Laser | Improved Hipfire Spread | Laser Visible in Hip |
| Fast Motion Laser | Improved Diving Hipfire Spread Improved Sliding Hipfire Spread Improved Jumping Hipfire Spread | Laser Visible in Hip |
| Tactical Laser | Ability to use Tactical Stance | Laser Visible in Tactical Stance |
| Strelok Laser | Improved Hipfire to ADS Accuracy | Laser Visible in ADS |
| Target Laser | Aiming Idle Sway Delay Improved Aim Walking Steadiness | Laser Visible in ADS |
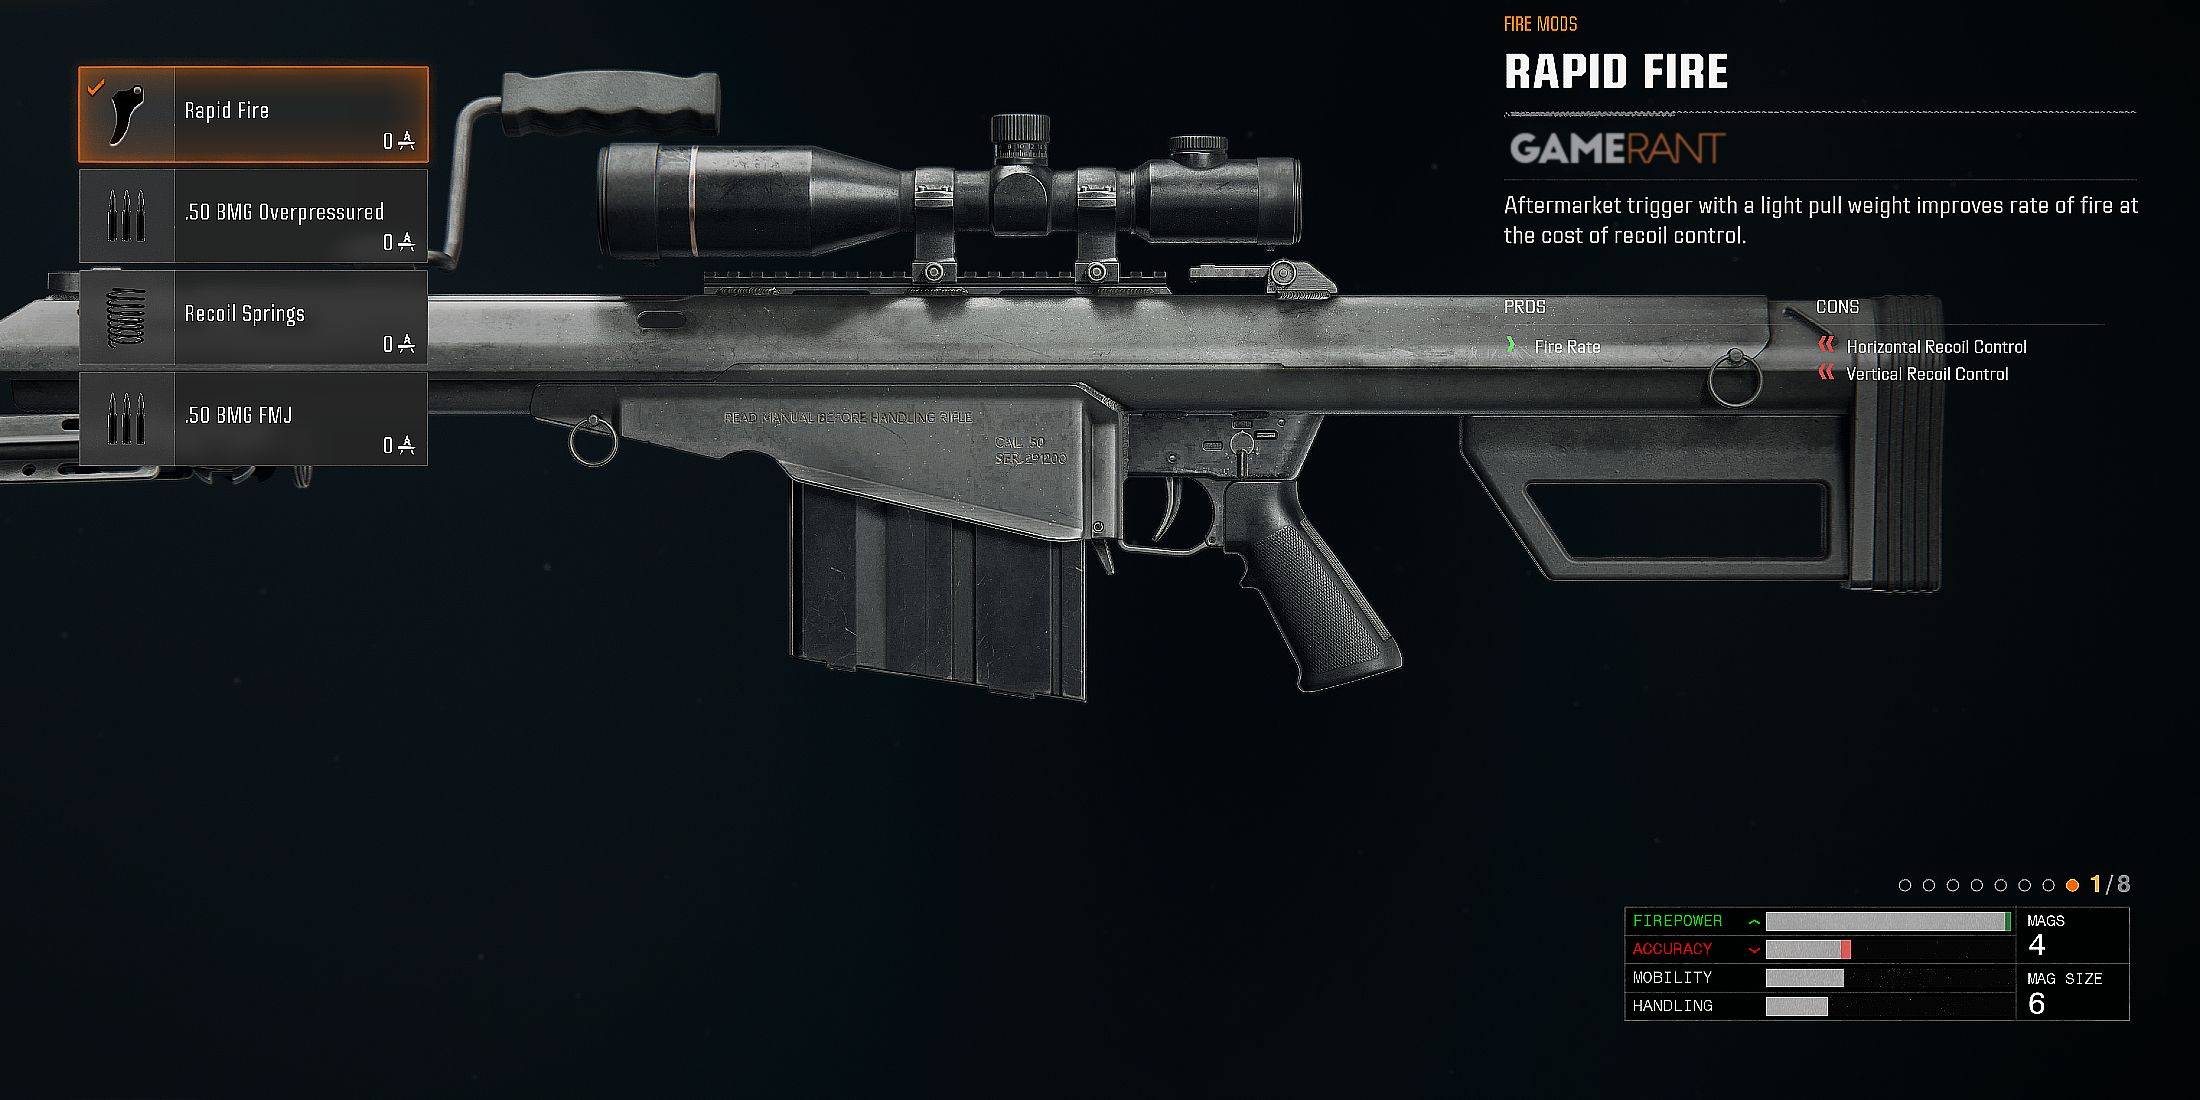
Fire Mods
| Attachment | Pros | Cons |
|---|---|---|
| Rapid Fire | Increased Fire Rate | Reduced Horizontal Recoil Control Reduced Vertical Recoil Control |
| .50 BMG Overpressured | Increased Bullet Velocity | |
| Recoil Springs | Increased Horizontal Recoil Control Increased Vertical Recoil Control | |
| .50 BMG FMJ | Increased Damage Against Scorestreaks Increased Penetration Damage |
 Latest Articles


 Latest Games


![Chubby Story [v1.4.2] (Localizations)](https://imgs.xddxz.com/uploads/85/1719638042667f981a5e9f8.jpg)

![Zia – New Version 0.4 [Studio Zia]](https://imgs.xddxz.com/uploads/47/1719569268667e8b74e6004.jpg)